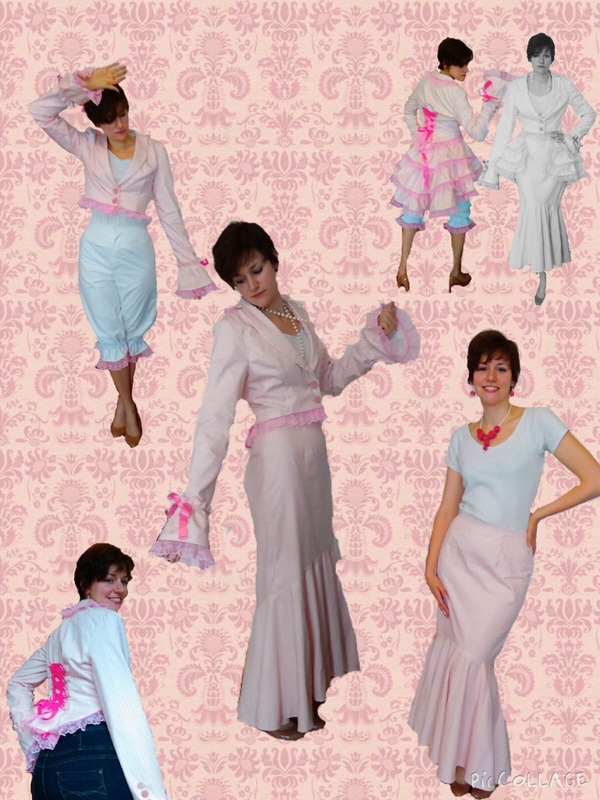
 I felt like making something fabulous as my big project this summer and working on some structure and what is more fabulous than a big rustley bustle?  This is a McCall's pattern M6670 and features a skirt, jacket, bustle and bloomers, very stylish. The cover of the pattern suggests using stripes and I liked that idea so found some nice light pink ticking fabric, lots of pink lace, bright pink ribbon and some pale pink velvet coloured buttons. With the bustle and bloomers combo it's a cross between Victorian prostitute and Eliza Doolittle at the races. 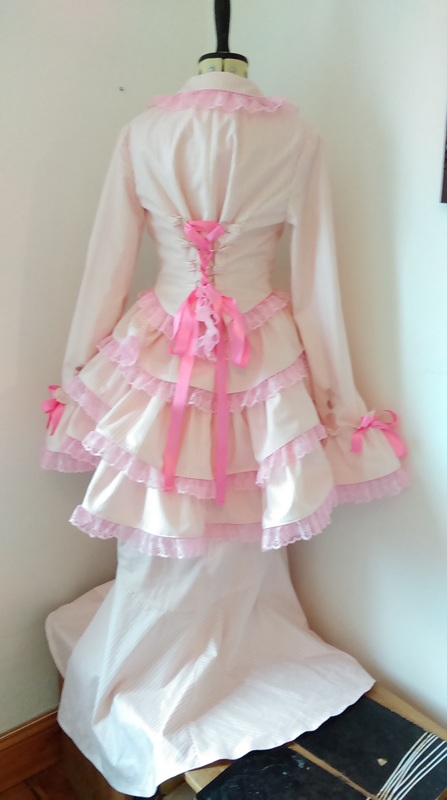 The fabric was a little light though, so I added white cotton underlining, the same I used as the lining, which took forever to cut out and prepare as each piece had to be cut out at least twice and then attached to its underlining. 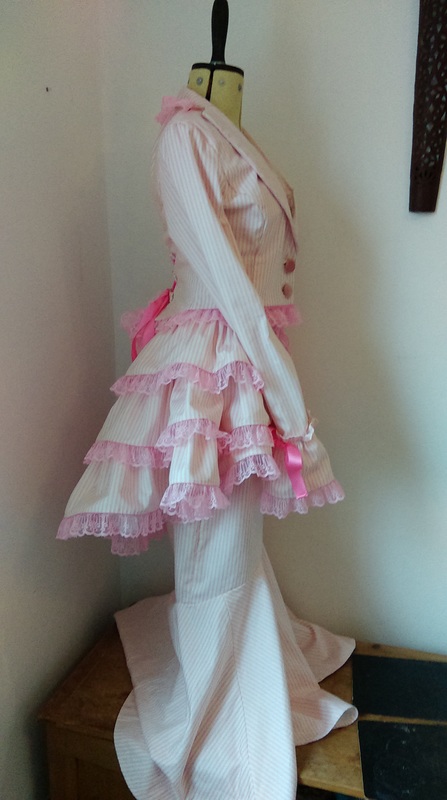 The skirt is a long, flowing skirt with gathered fish tail section below the knee. I got confused between American sizes and pattern sizes so bought patterns that were too small: they only went up to a 10 and I needed a 14; so I compared the differences in sizes that were on the pattern and added two. This mostly worked except for the hips, which meant I needed to use 10mm seem allowances on the skirt rather than 15mm. 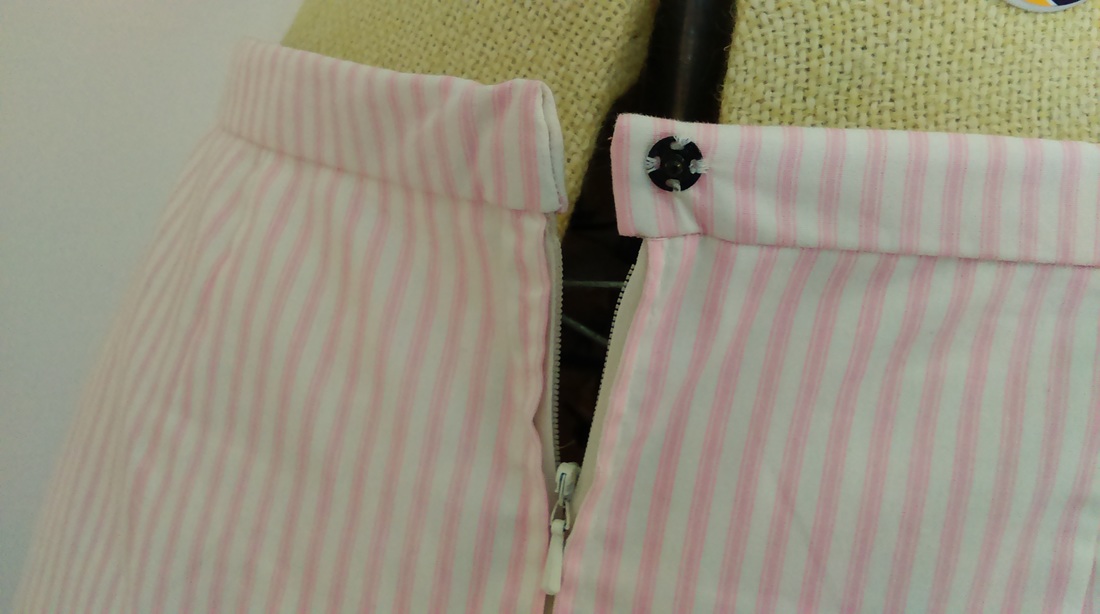 The skirt is held together with a zip and a hook and eye except I put in a popper because it looks much neater. I added the customary 2" to the skirt (I'm 5ft10 and often need to lengthen things) but I then had to take it up a little at the back to stop it dragging so it's a good, long pattern. 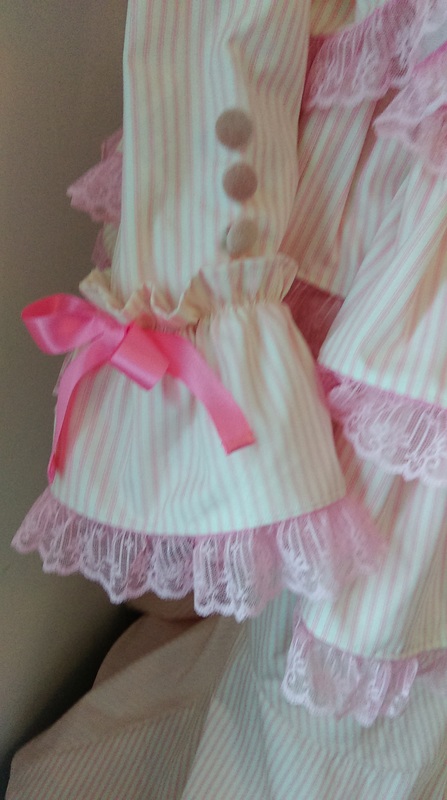 By itself, I feel the skirt can definitely be worn as a smart/casual floaty number 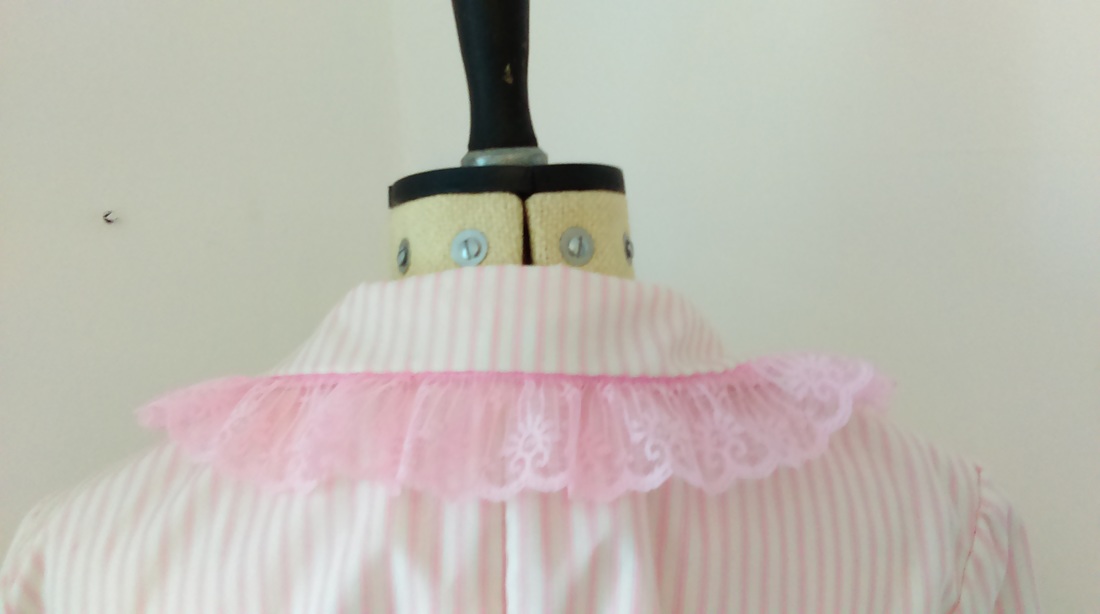 The jacket has a lace collar, lace hem, ruffled and laced sleeves with button decoration and ribbon lacing it up the back. 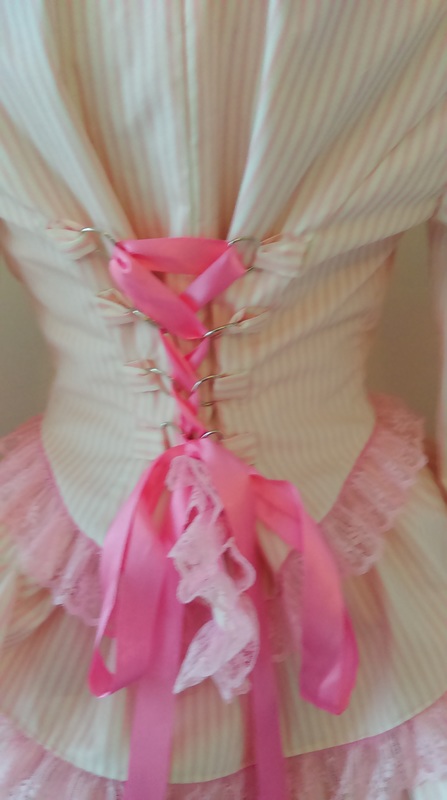 This pattern is only listed as a costume and so isn't perfect and there are a few changes that should be made to the jacket construction, particularly the lining: the pattern suggests joining the sleeve and the sleeve lining before attaching the sleeves to the jacket; however, you should sew the sleeve to the sleeve jacket, press the seam towards the sleeve and then hand stitch the sleeve lining over the top so there isn't an open seem. The sleeve ruffle should also be lined as you see the back of the fabric. 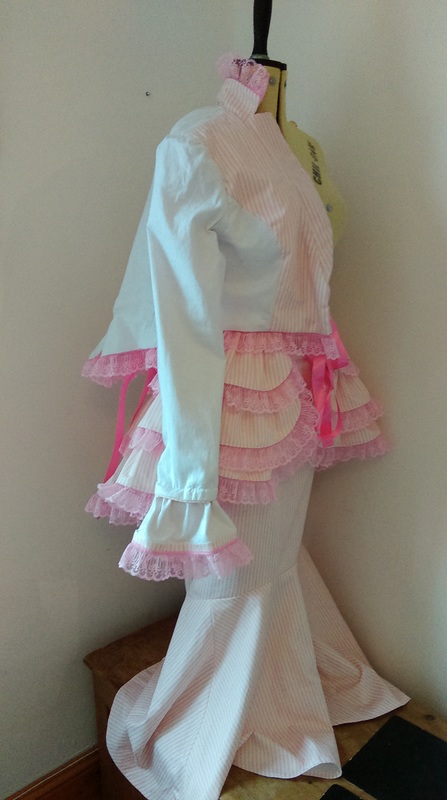 The back is laced up with a ribbon and needs tabs to be sewn onto the back. The pattern suggests doing this right at the end which means it must be done by hand or the stitching will be seen inside the jacket through the lining; either you need to sew the tabs on with a machine before attaching the jacket to its lining or put the tabs into the seems when sewing the back side to the centre back. 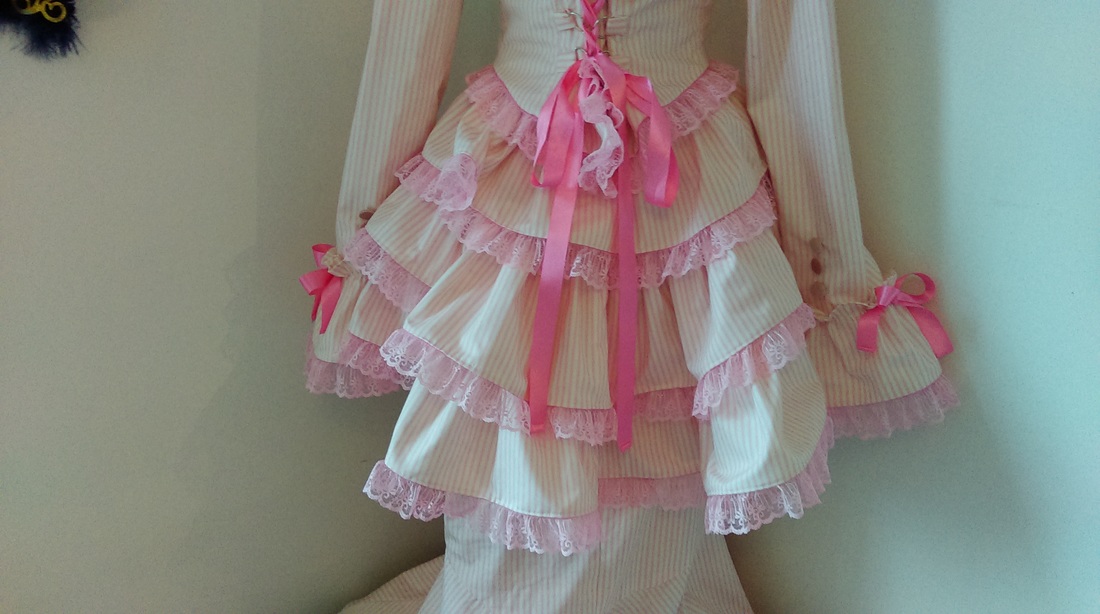 A note on sizing: the jacket is quite short and were I to make it again I would add at least 1" if not 2" to its length. I know it's meant to stop at the waist but it can hover slightly above the skirt. The sleeves are also very long. I added the customary 2" (again I have really long arms- 6ft 2" arm span), which weren't needed at all. After the hip incident with the skirt, I use smaller seam allowances on the jacket but it came out very large: luckily, the ribbon at the back can be used to shape it! 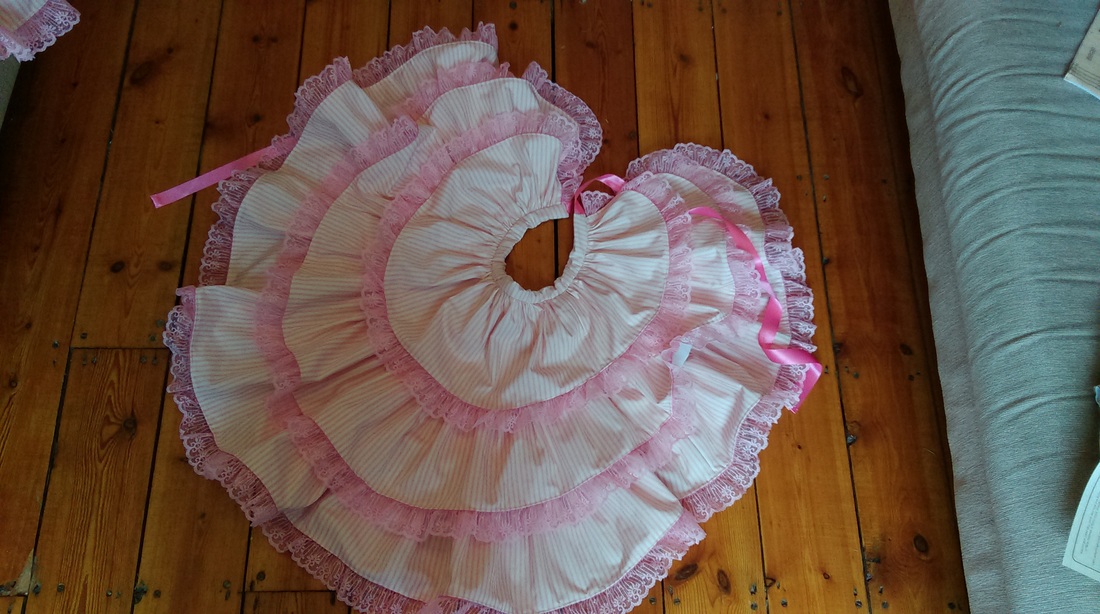 The bustle! The bustle needed a LOT of gathering: the bottom frill is at least 3m long. But it was definitely worth it- it looks fabulous. 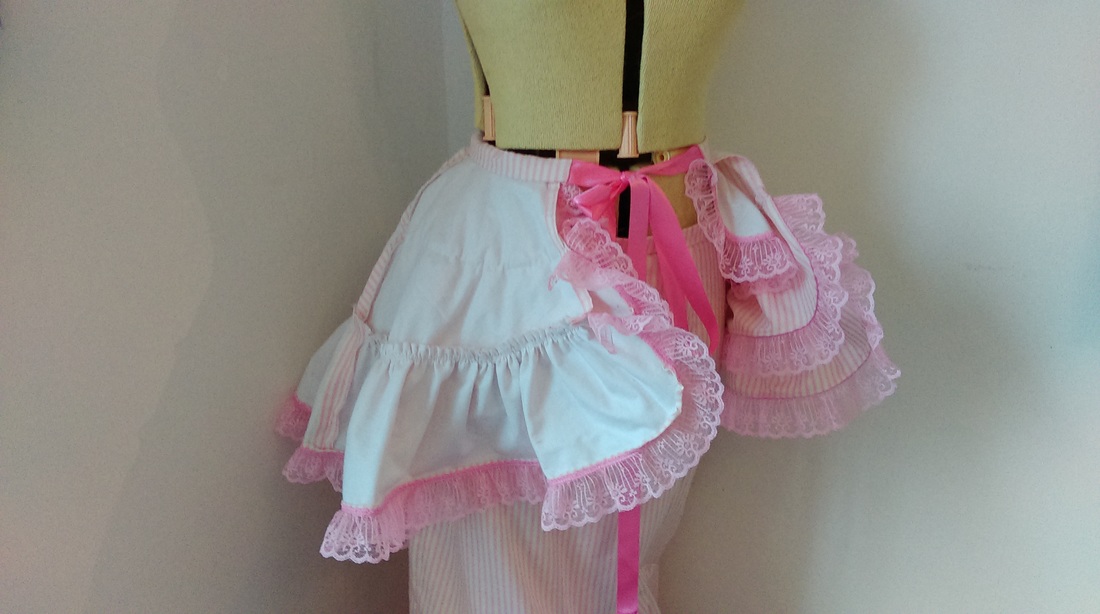 Again, because it's a costume, the bustle isn't lined and could do with having the skirt pieces cut out in lining and attached to the main ones. The bustle is held up by tying a ribbon; it might be neater to use the waist band from the skirt or trousers and have a button or a popper. 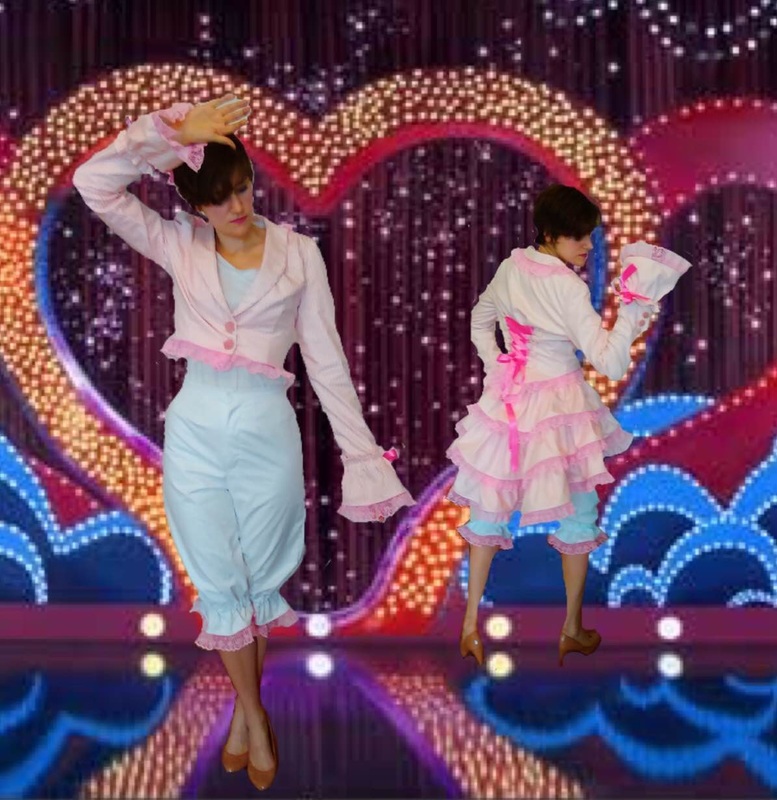 At the end, I had some cotton fabric left so I thought, why not go the whole hog and make the bloomers as well? They look pretty funky. They have a jean-style zip at the front, which looks so much better than any normal zip I can produce for skirts: flaps do look very neat. 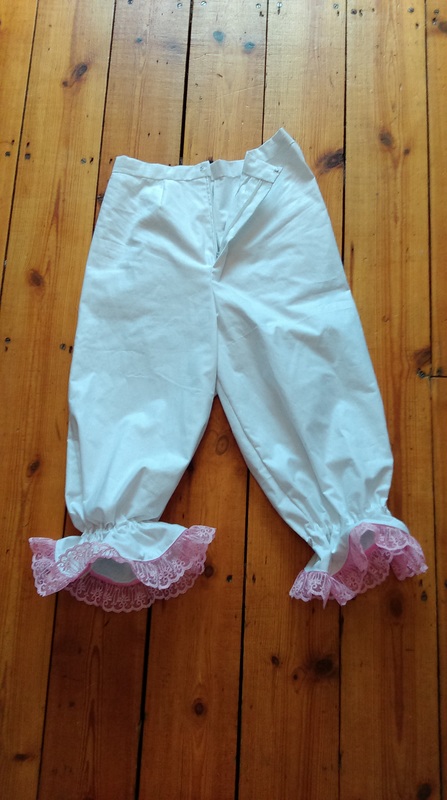 The bloomers are fitted at the top and then had straight legs, gathered 2" above a lacey hem. I put the elastic gathering into white satin ribbon so that it wouldn't be too scratchy if it was tight. 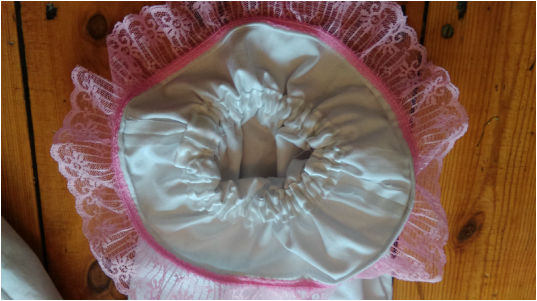 Now I just need to host a Victorian or steam punk party!
1 Comment
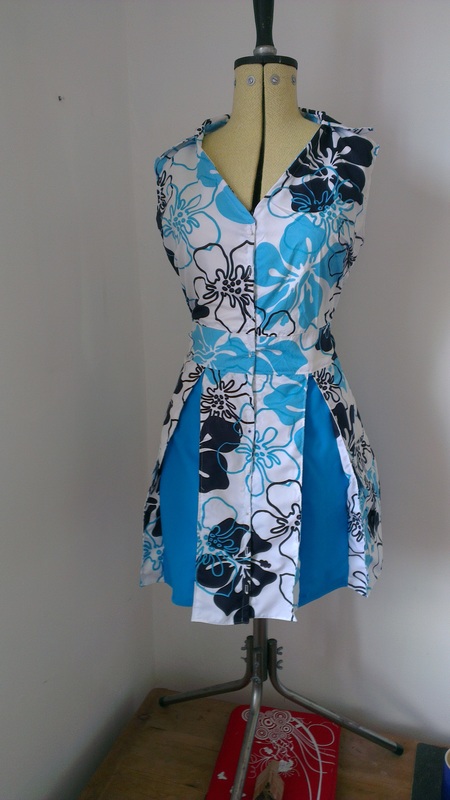
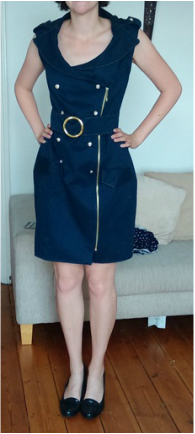 I saw a dress on Crafster that had been made using a pattern site called Lekala that makes custom print-out patterns. This seemed too good to be true so I thought I should test it. I found this awesome military dress on the site, put in my measurements and printed it. 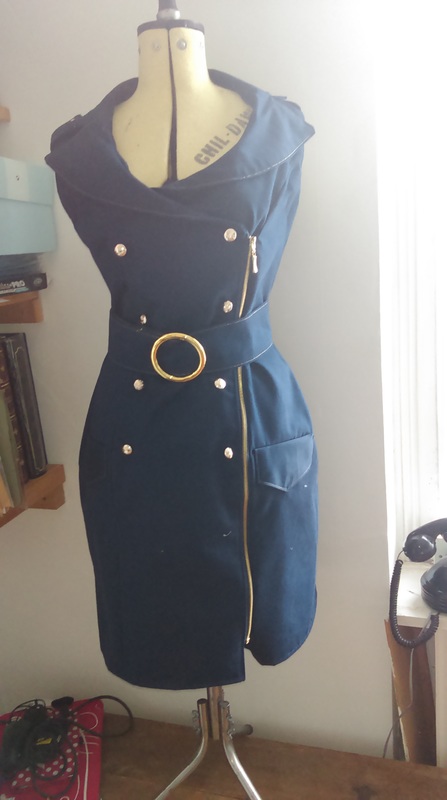 You have the option to pay $1 extra for seam allowances; as that was another 25% on the price I decided not to do that and that was not the correct decision: you already want to retrace the pattern once you've printed it and stuck it together adding seam allowances is a bit of a faff. 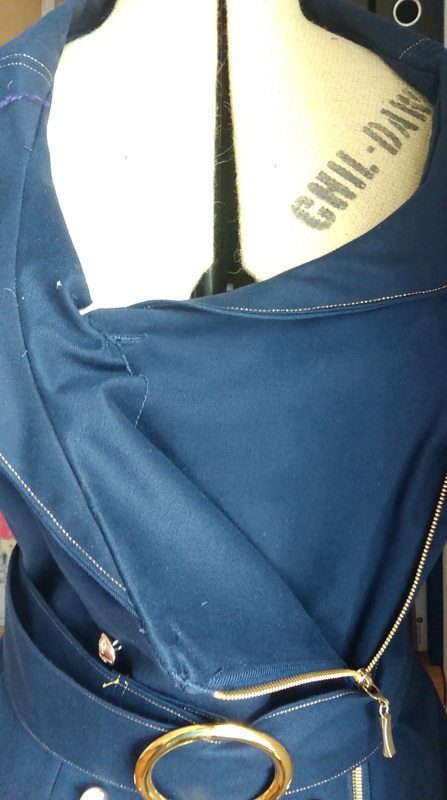 I was worried that the pattern wouldn't fit and while I was making it, it felt a little small; so I unpicked it and made the seams smaller only to have to put them all back in because it fit perfectly! I did have to take some of the seams in but only because I have a long waist and short body and I'd have to do that anyway. I'll certainly be using the site again so that I don't have to worry too much about editing pattern pieces! 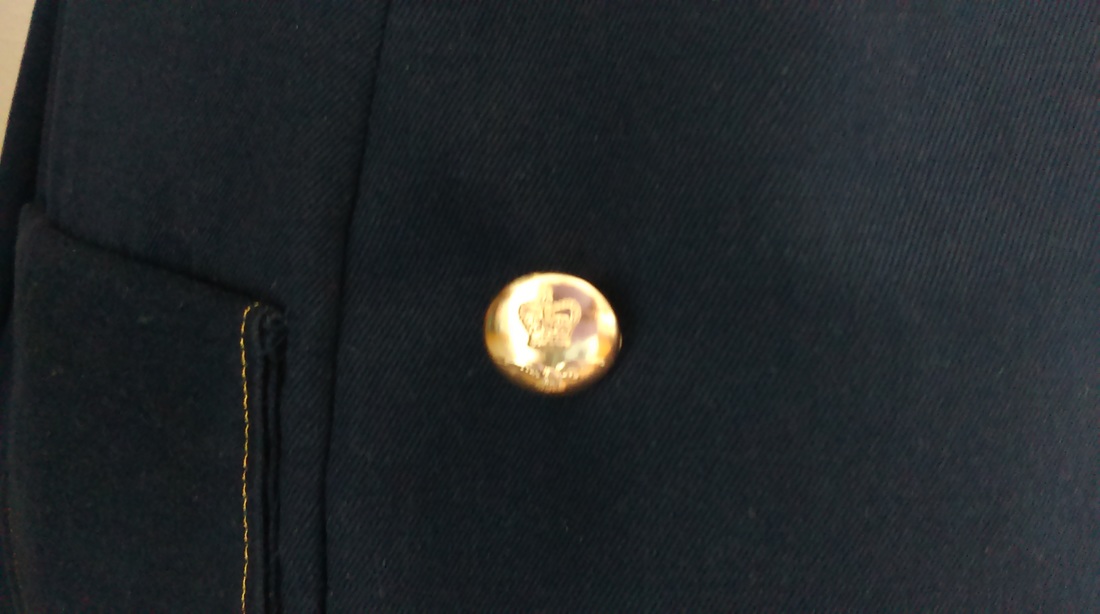 The dress is made from 3m of navy linen garbedine mix so it's quite thick and sturdy. It has a large lapel, a side zip, belt and 10 pretend buttons on the front. I decided to choose some RAF gold buttons but they do stick out a little so using flatter buttons might be better next time. 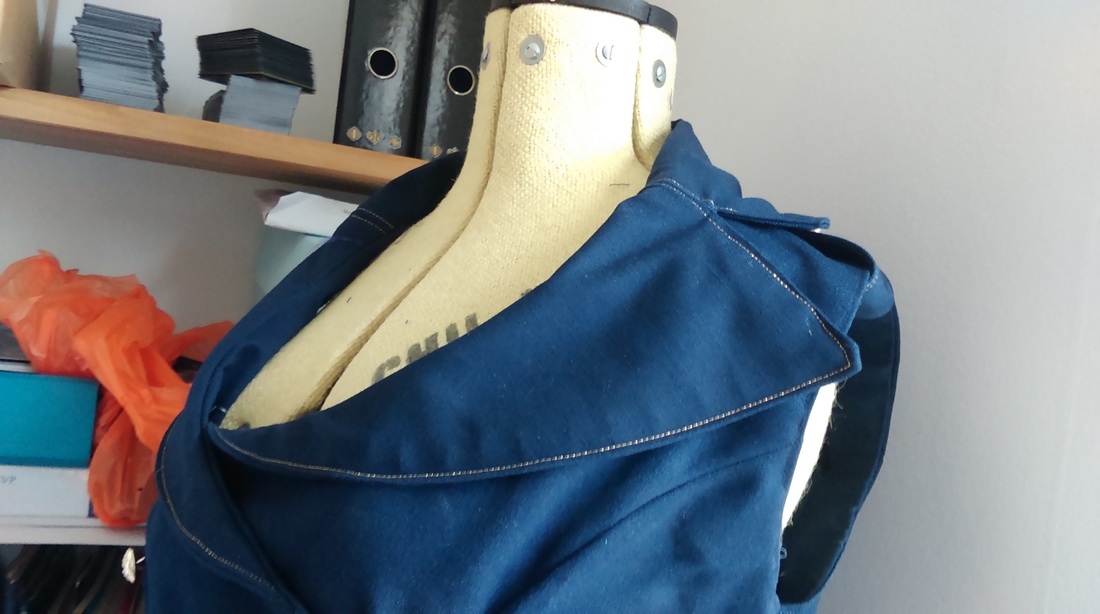 I was given a fantastic Christmas present of an assortment of exciting thread and buttons so I used some of it to edge stitch the lapels in gold and make them look a little more snazzy. 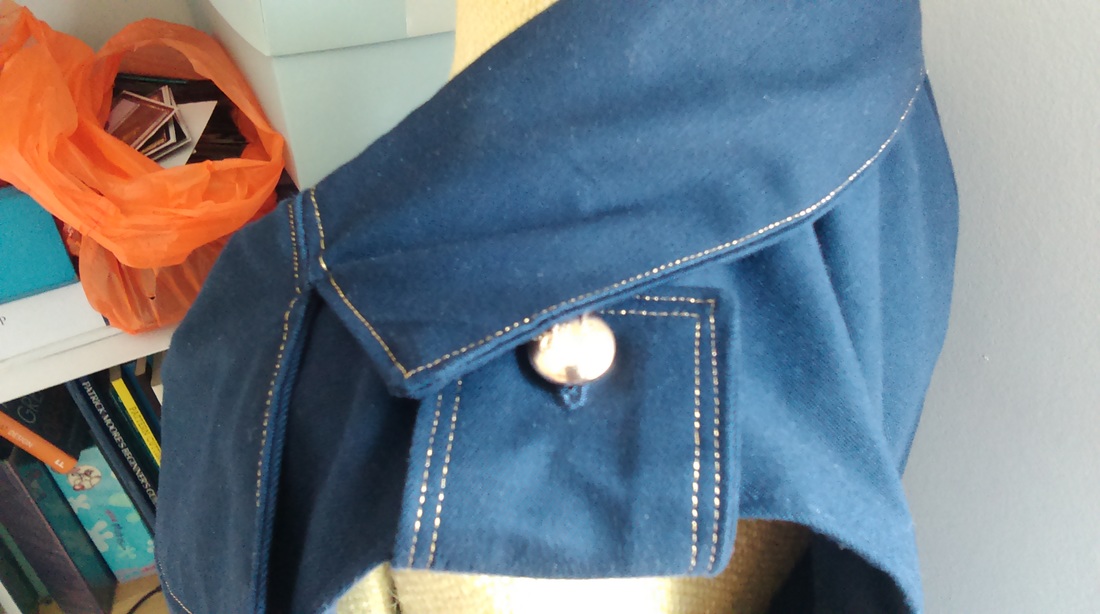 The epilets are also quite snazzy... 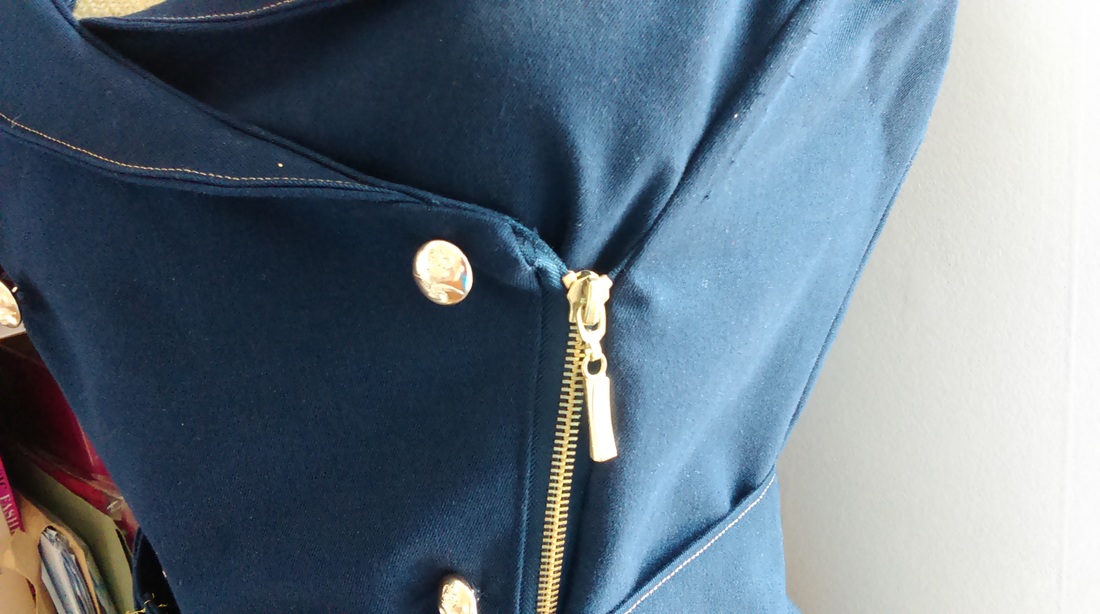 It's held together by a bright gold zipper and an inside button. I've added a couple of inches to the dress and to the facing so that it can be walked in without flapping open.
Overall, a good experiment! The site, in this statistically significant sample of one, produces patterns of the size required. The dress itself is smart and fun. 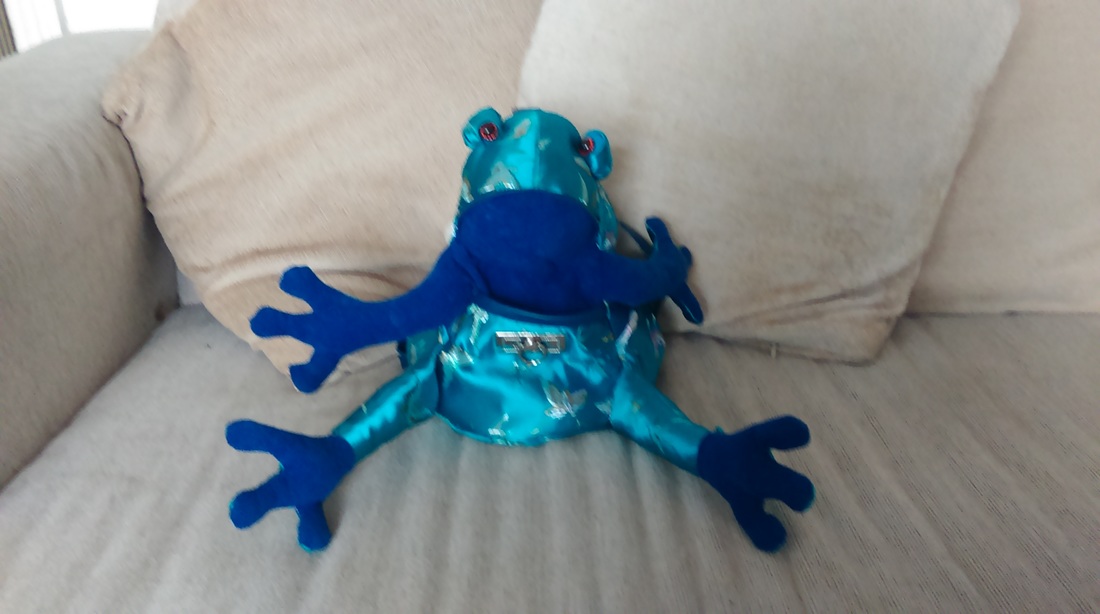 I tried this pattern last year when I made the owl bag but this frog is sew much better! 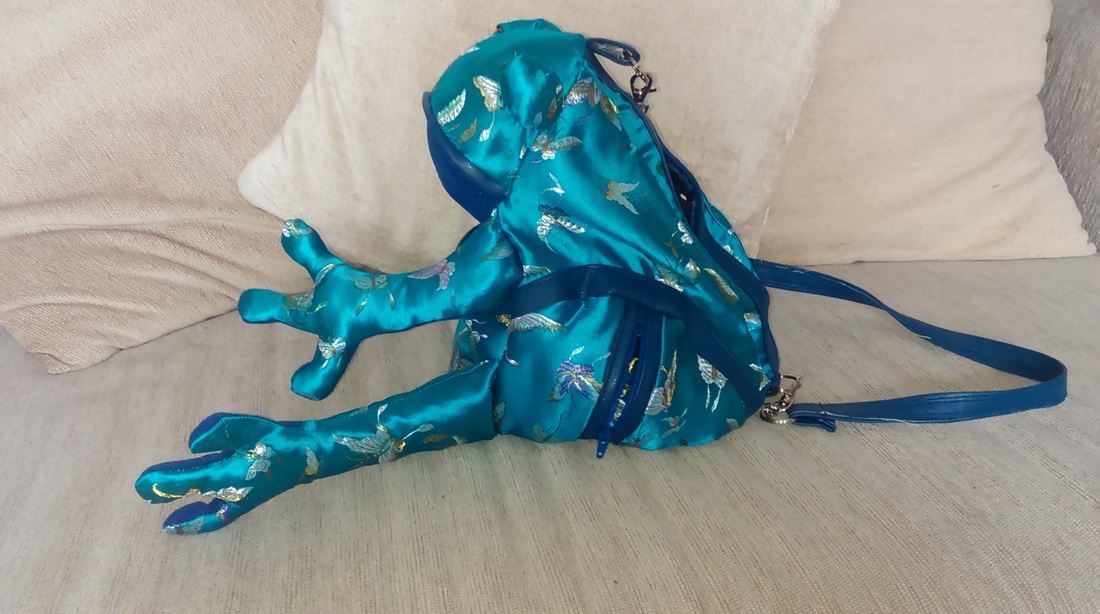 This is the prefect hand luggage. It's made from beautiful shiny turquoize butterfly fabric, royal blue suade and fake leather. 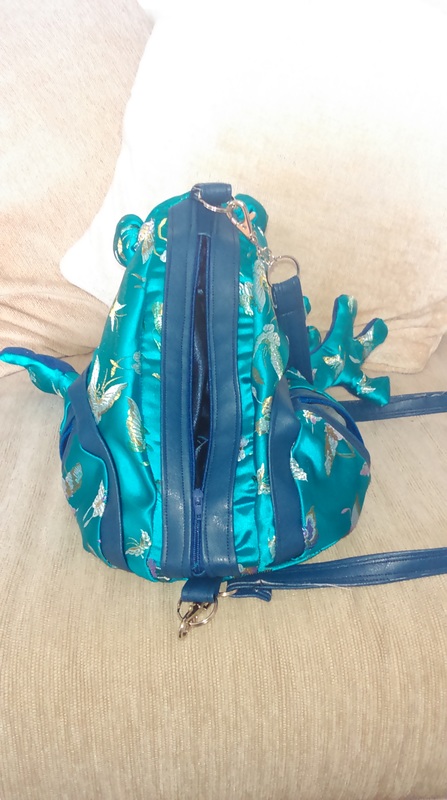 There are lots of pockets, one on each side about the right size or a small mobile or change and a larger pocket in the back, big enough for a passport but not, it turns out, an ipad. 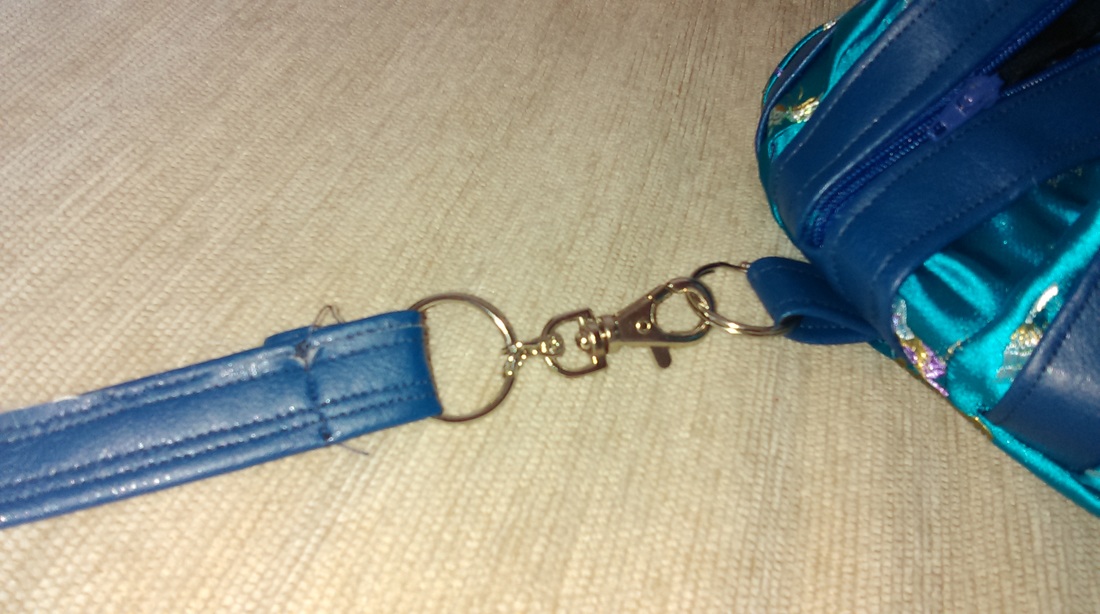 The strap is held on by a lobster clip. It's a single strap, long enough to go across the body. Sewing the leather was so much easier on the new sewing machine and using a number 16 needle.  There's a front pocket big enough for a wallet. 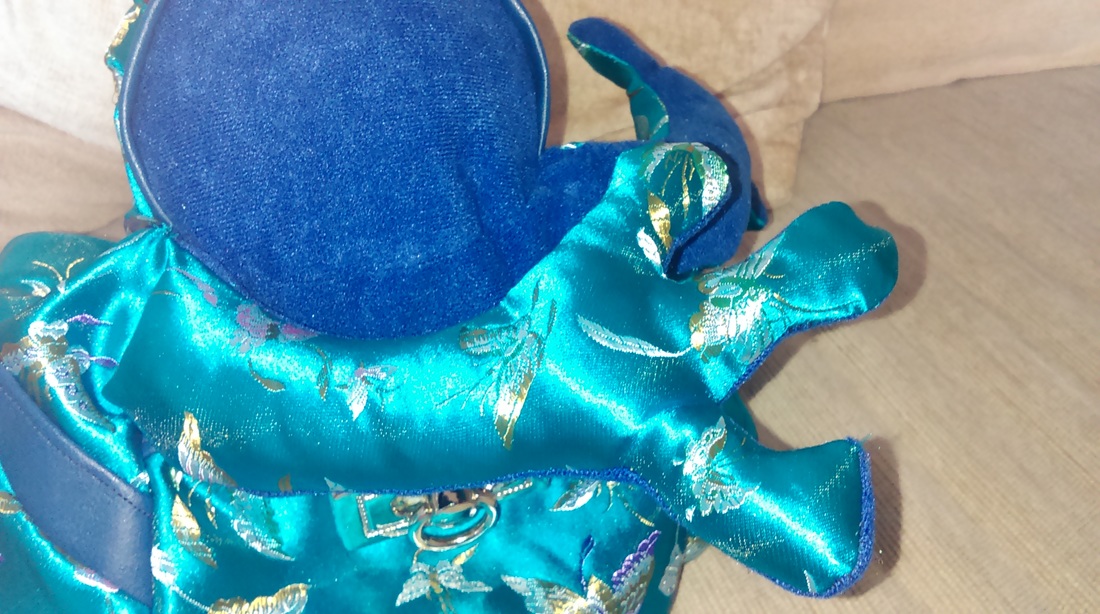 And really cute dangly arms! 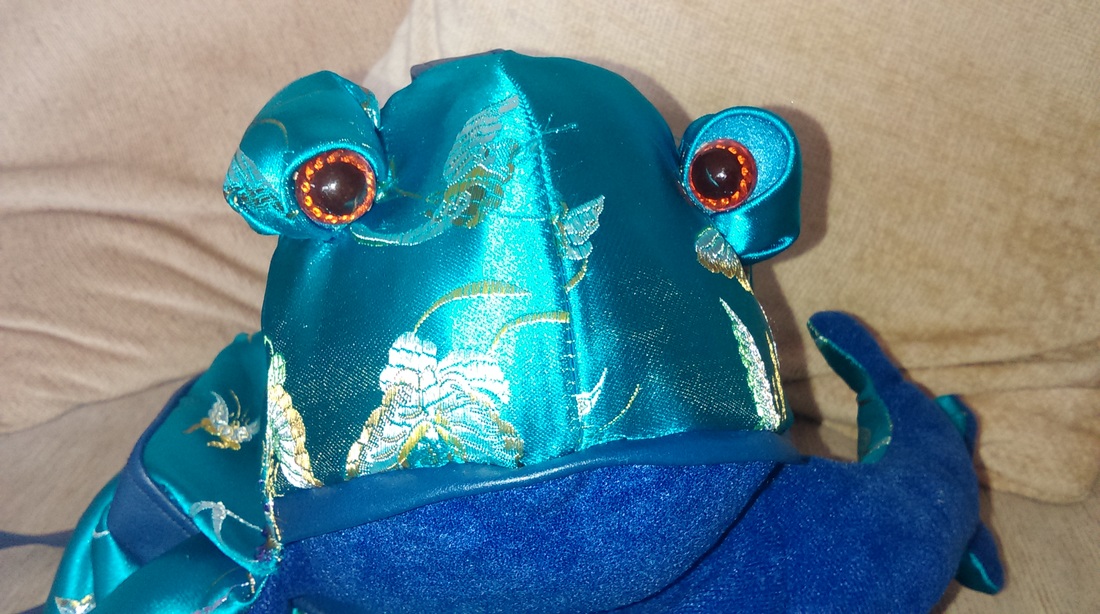 I love the leather mouth! A much more awesome alternative to a handbag and I'm sure Ernest's future aunts in law would agree!
 I'm not a fan of swimming costumes but I really like the Edwardian swimming dresses. The only problem with them is that they are made of linen and so are quite heavy when wet and don't dry quickly. So I decided to make a swimming dress from board short material. 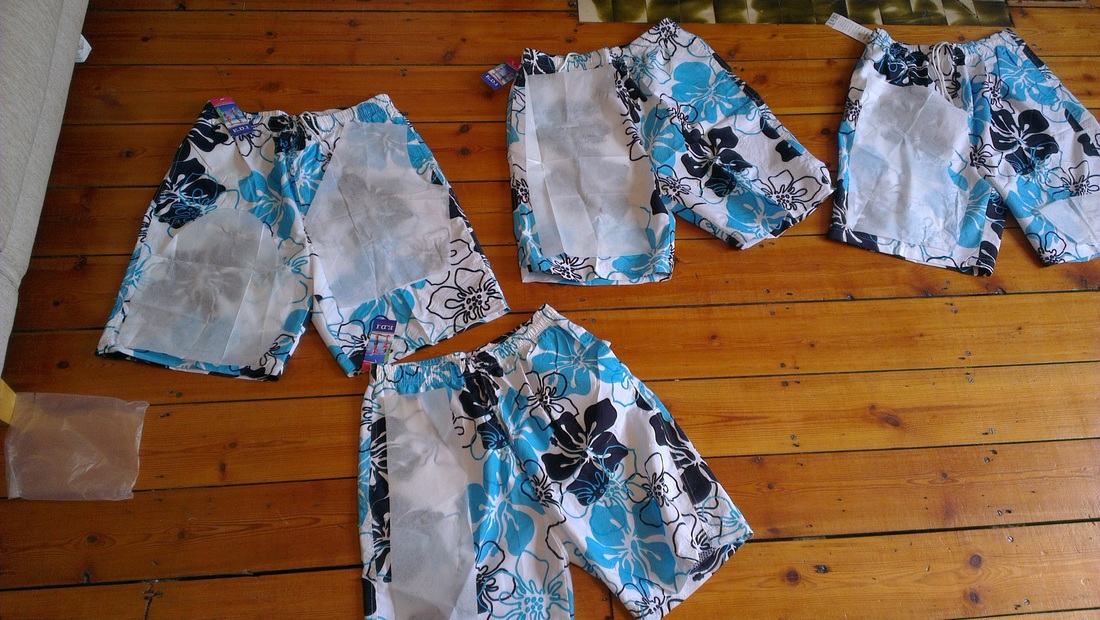 Unfortunately, I couldn't find the material for sale in the UK so I bought four pairs of extra large board shorts and cut them up. I was hoping to get an Enchanted-style holey curtain shot but there wasn't any material left by the time I'd finished! 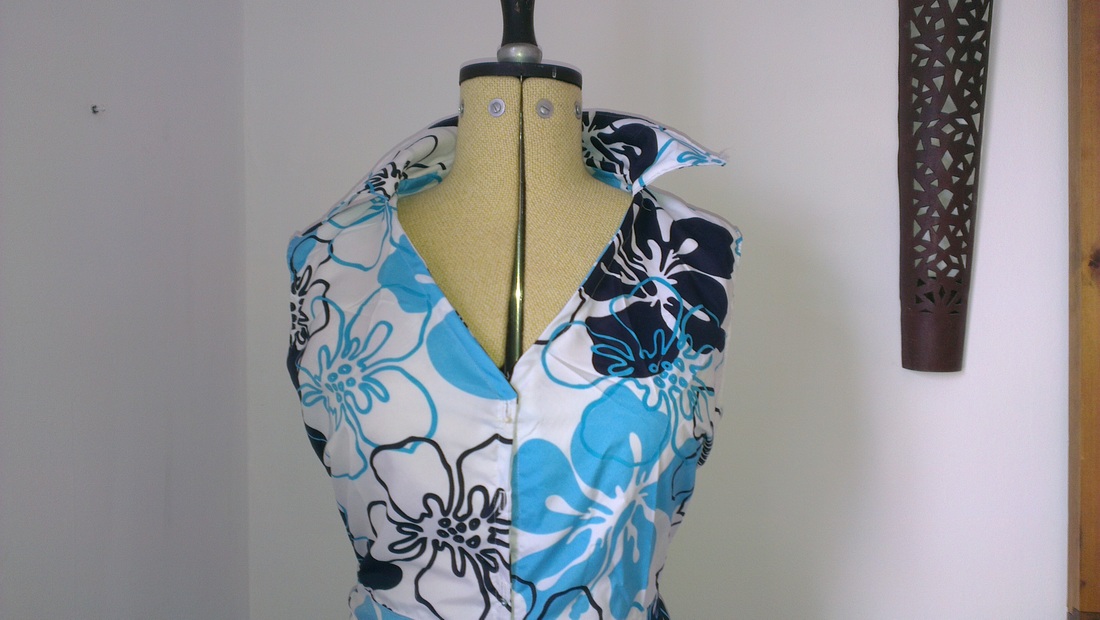 I used the top of linen dress and a pleated netball skirt to cut a basic pattern in tissue paper and then adjusted it on my mannequin. It turns out Miranda, the mannequin, has a much shorter body than me so I had to make a belt strip in the middle to join the two together. 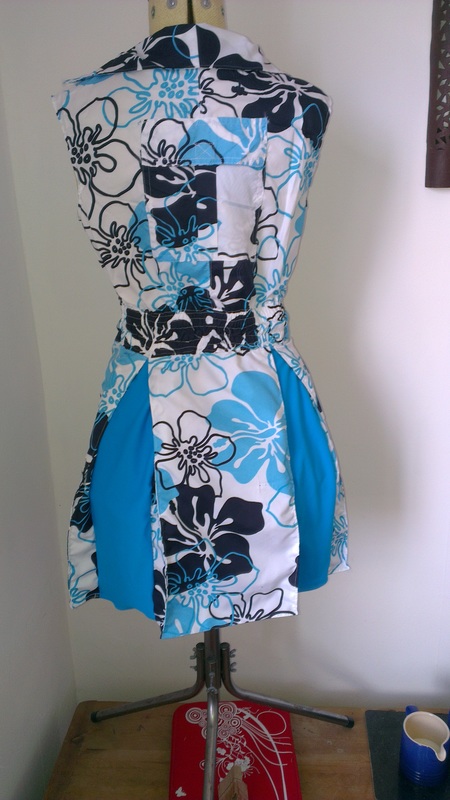 Despite using all the material, the skirt was a little tight around the bottom... of the skirt and so wouldn't have been good for swimming as I wouldn't be able to kick. I cut open the pleats and inserted a strip of aqua lycra which would stretch with the kicks. I plan to make a matching bikini out of the lycra to wear under the dress. 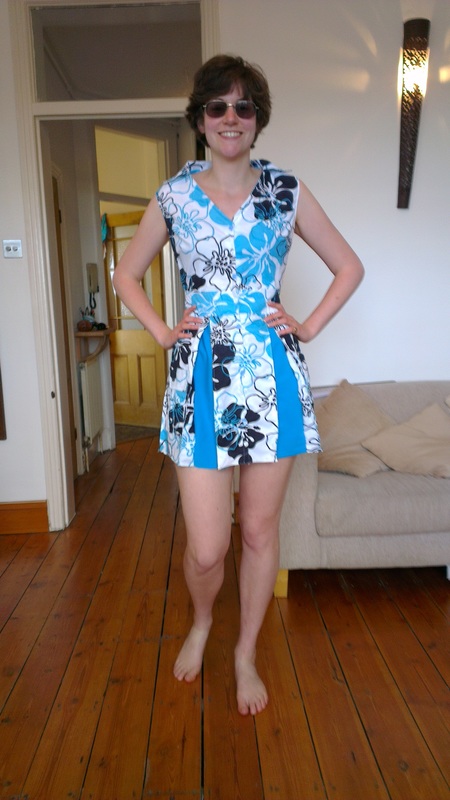 Throughout the construction of the garment, I tried to keep it in theme with the boardshorts it came from: all the seams are top stitched with twin needles and the hem of the skirt and arm holes is a double hem. I put pockets on the sides to make it look more like a pair of swimming trunks but I also found that the trunks were pretty badly made and every time I unpicked a pocket, there was a giant hole made when the sewing machine had finished the stitches. I mostly managed to hide these holes in the new seams but there was one massive hole in the centre of the back so I stuck a pocket over the top. I'm going to call it theme-ing. I made the middle band more like the waist band of a pair of swimming shorts by unpicking the elastic from two truncks and making a double band at the back. It's sheared over the top of the elastic. I took out all of the darts in the top once I added the elastic and this will give a bit more space when swimming. 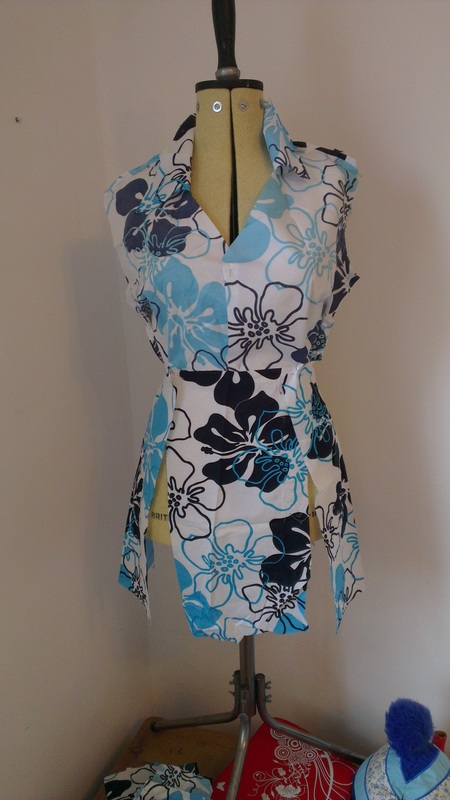 I was going to put in sleeves but I decided that would hinder the arm movements too much. I was also planning for the collar to be larger but I think that too could get in the way of turning your head to breathe. 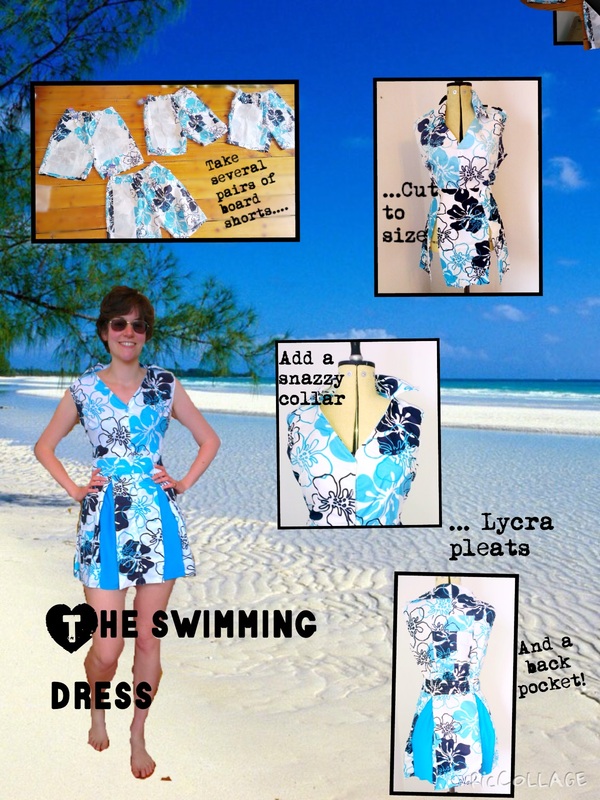 All in all, I'm looking forward to hitting the beach this summer in my new outfit!
A friend held a Mexican Fiesta the other day so what better outfit to go for than a spicy chilli dress?  The diagonal chilli tail was made by drawing a spiral around a plate on top of the two sides of the other t-shirt. The spiral makes it longer at one end and drawing it around a circle will make it fall in a more crinkly way. I then gathered it and sewed it to the dress. The dress is made from two red XXL men's T-shirts from Primark. I used the top band from the first T-shirt as the band for a strapless dress and then sewed the side seams to fit to the body. I turned the sleeves into the frilly shoulder sleeve and the strap on the other side. 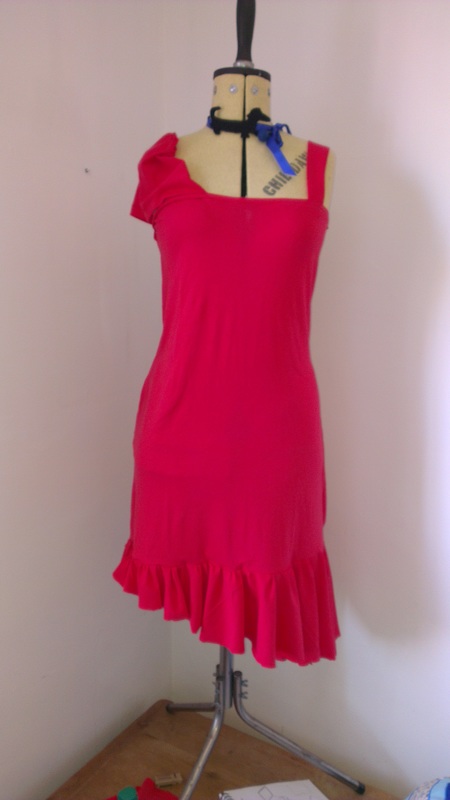 The hat is made from a cereal box cone, some glue gun, left over t-shirt fabric and some green felt for the stalk. Ascot ready!  And to finish the outfit.... some chilli polymer clay earrings.
|
Apparently SewYou rip what you sew! Archives
May 2020
Categories
All
|
 RSS Feed
