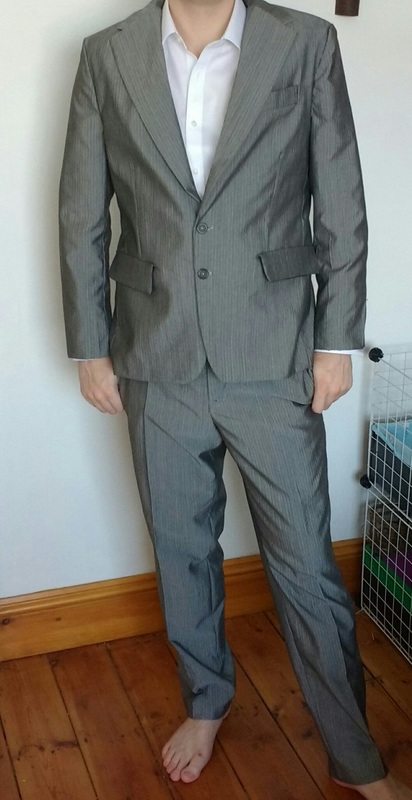
 My recent project has been making a suit for the SO who started a real job recently and had to update his wardrobe (shirt posts to follow). I used a grey pinstripe suiting fabric that the eBay seller claimed was designer Japanese fabric (I have since noticed Asian men in shiny grey suits so this could be true). It has a slight sheen and no stretch. 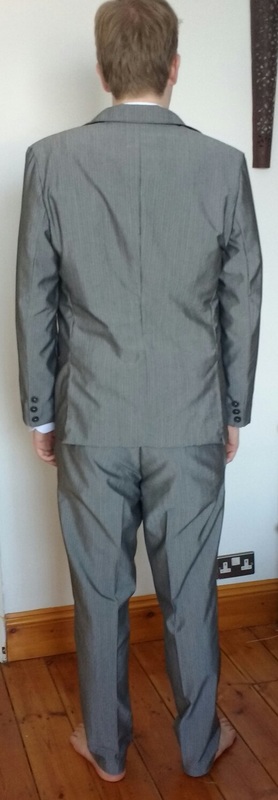 The pattern I used was a Burda suit pattern; it was the only men's suit pattern I could find on Jaycotts. I'd never used a Burda pattern before and I'm pretty unimpressed. There are about half as many instructions and diagrams than other patterns and fewer labels on the patterns themselves. There isn't sizing on the pattern envelope: you have to pull out all the sheets of paper. There is also no recommended button size or fabric type. 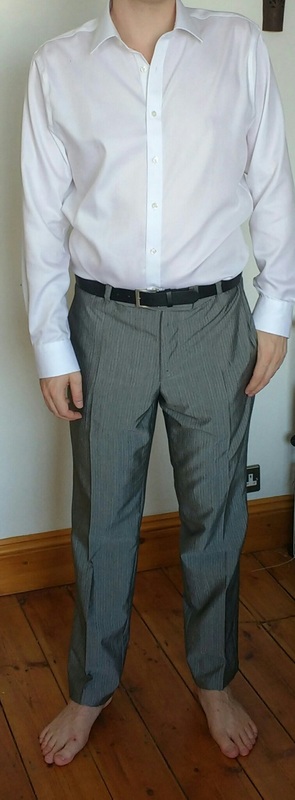 I'm not an inexperienced sewer: I often see Vogue advanced patterns and while I've never made a man's suit before, I have made a lot of women's. I found the instructions very unclear and had to do a lot of unpicking once I worked out what was actually supposed to happened. I also watched a lot of YouTube tailoring videos to help me. 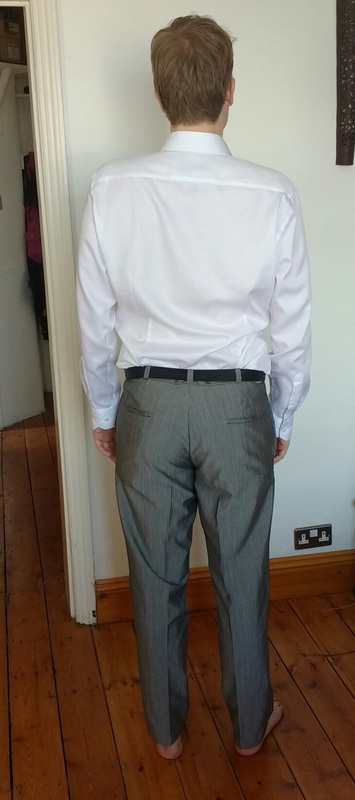 I know that that you're meant to make a muslin and adjust but I've never had to do that with patterns. While this is an incredibly stylish suit (of course it is- I made it), it is not a perfect fit based on the measurements on the pattern and comes out a little tight in the chest. 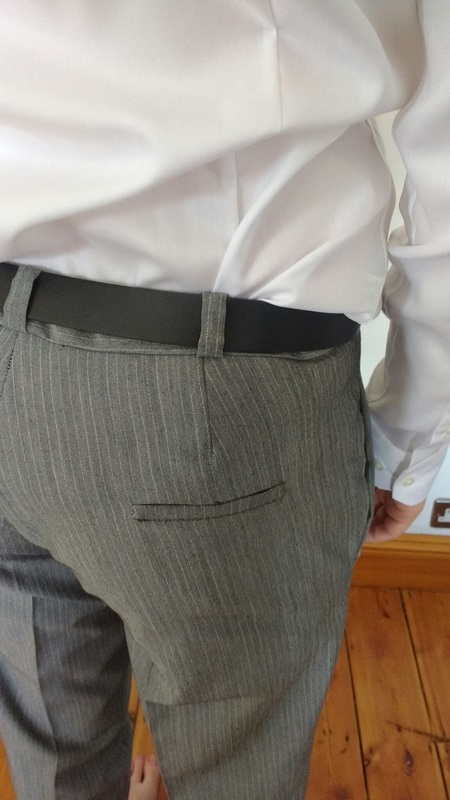 The main challenge that I faced with this suit was all the he pockets. I haven't really done welts or piping before and these are certainly not explained! 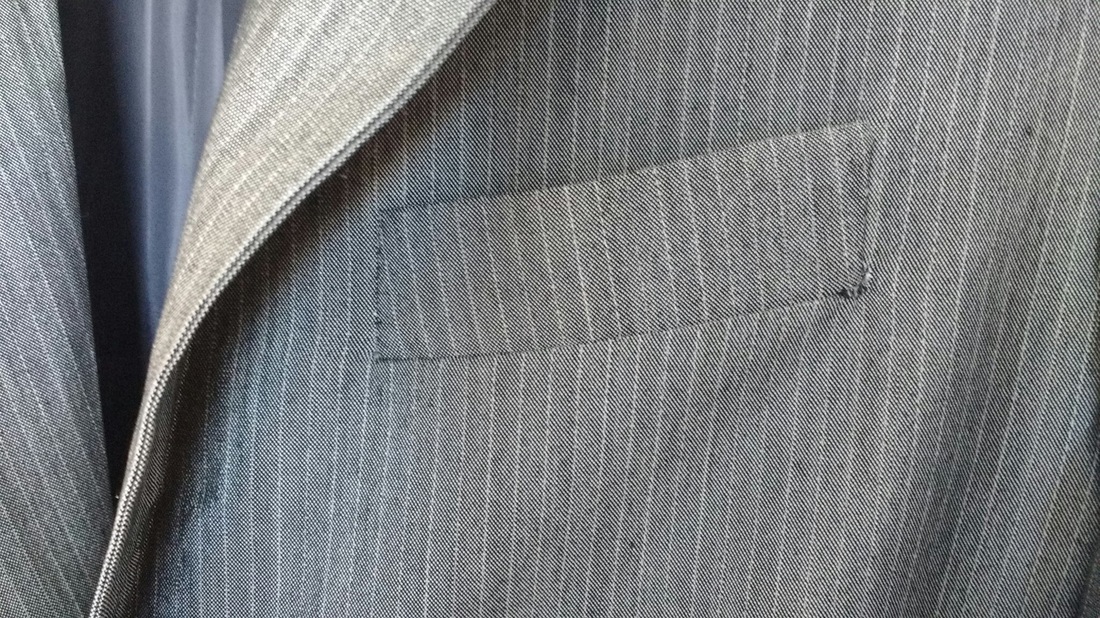 Sew three sides of the welt and then turn right side out and press. Place the welt with seam allowance inside where the pocket hole will be, facing away from the hole. Pin with pins right at the edge so that you can see where the welt ends. Put lining over the top so that it covers the whole of the pocket hole. Sew the hole as a trapezium going exactly to the edge of the welts. Cut the pocket hole as a strip with two LONG triangles at the sides. Turn the right way around. T'Dah! (I feel the patten instructions skipped to the 'T'Day') 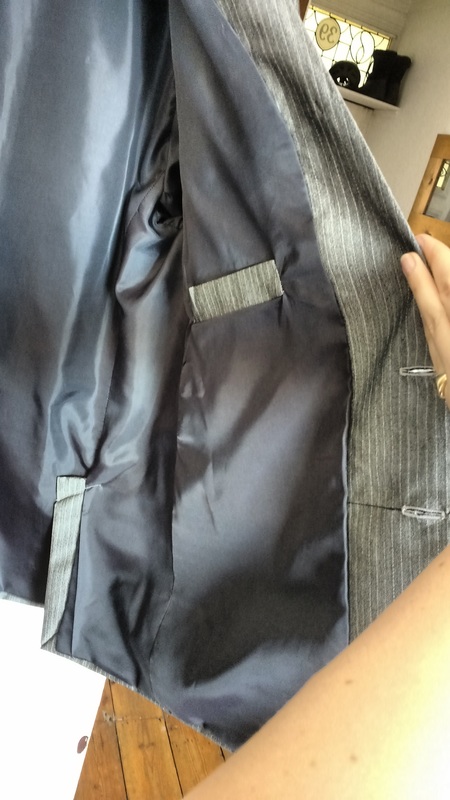 There are a LOT of pockets on a man's suit! SO also requested inside pockets. I made these using the outside pocket pattern and a welt from the suit fabric. 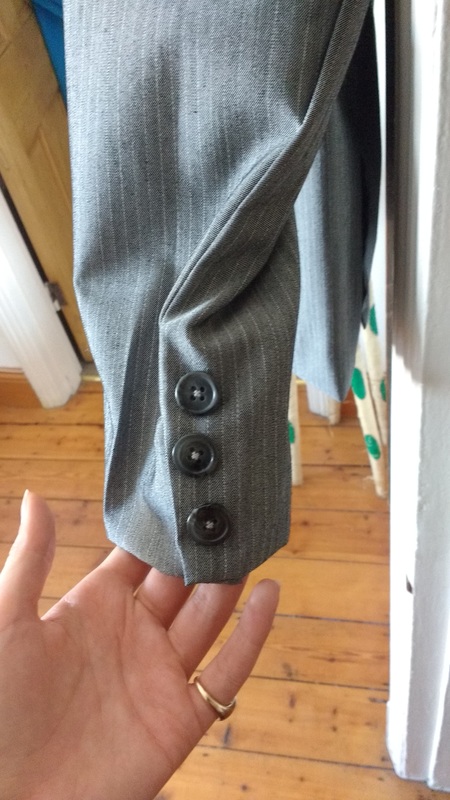 This was always going to be the worse suit: I have some more expensive wool fabric to make a better fitting one (updates to follow around Christmas time) so changes I will make:
1) Height- the suit pattern says that the SO is taller than the height recommended for the suit. I added an inch to the bottom of the trouser and have had to turn it and more up so I won't be doing that next time. I will, however, add an inch to the top of the trouser around the zip to allow a little more room. 2) The sleeves: these had to be turned up quite a way so I will take off half an inch from the end of the pattern. 3) The chest: go up a size in the chest (to a 46) and then bring it in again at the waist. 4) The sleeves part ii: there was a lot of ease in the sleeve (it was about twice the size of the armhole!) and so I have to gather all the way around to make it sit flat in the armhole. Shiny fabric is very unforgiving and this took several attempts. I won't make the top of the sleeves a 46. Hopefully, this means there will be fewer creases. 5) The sleeves part iii: the sleeves get caught around the elbow if the elbow is bent and have to be pulled down again. Next time I will use smaller seam allowances around the bicep and more slippery lining for the sleeves. 6) The front of the suit needed a little starch to make it sit nicely. I'll use heavier interfacing next time.
0 Comments
|
Apparently SewYou rip what you sew! Archives
May 2020
Categories
All
|
 RSS Feed
