|
I have recently subscribed to Love Sewing magazine for inspiration and free patterns. I was excited when issue 53 had a dungaree pattern to try, McCalls M7547. They have a shorts version but the shorts were a little short and so I used the full trouser pattern (D) and made it wider to make a looser pair of shorts in exciting floral cotton. I also used ALL the pockets. You can never have too many pockets! 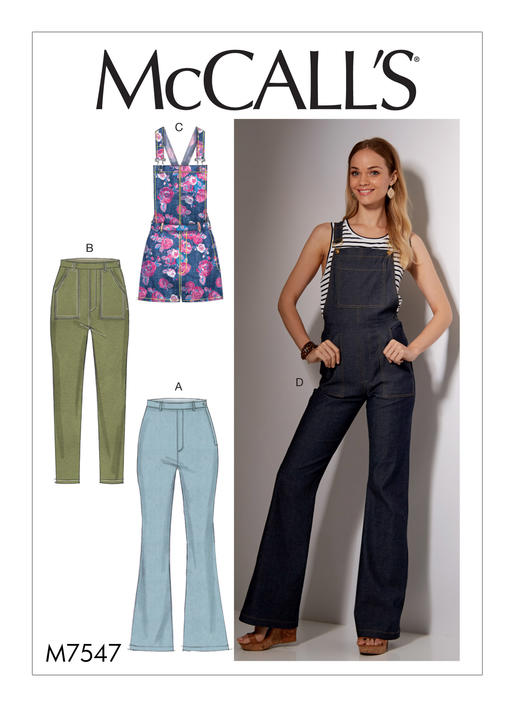 I always have to make some adjustments to patterns because I'm tall and in my experience McCalls designs for tiny, short women but I had to make a HUGE amount of adjustments to make these fit.
I have a short top half (for my height I suppose but that makes it about average): the straps only just fit and are certainly not able to be folded over to be adjustable. Unless you are a child, you will need to add more length to them, especially if you have any discernible bust. I added 2" to the crotch depth and that wasn't quite enough: it's still a little tight. I would recommend adding at least 1" if you are of average height and more if you are tall. I am always very honest when I look at the sizing on the back of the pattern, even if it tells me a number I don't like: you would be foolish not too. Pattern sizing does not correspond to shop-bought clothes and you normally have to go up a size or too so it's nothing to worry about. Despite that, I found the pattern very tight fitting, both around the hips and the leg. In the end, I had to use 5mm seams to make the jeans do up, which meant that I didn't have enough material for a lapped zip and had to use a regular one, which looks pretty messy and is quite visible. I recommend going up a size from the measurements for a reasonably fitted shape and two sizes for a nice slightly baggy dungaree, which is how I believe a dungaree should look: they are not a form-fitting catwalk style but for slouching. I plan to make some more, full length ones in the Autumn out of cord and these are the adjustments I will make: -Go 2 sizes up (size 18) -Add 3" to leg depth at top (I only added 2" and it's a bit tight in the crotch when you sit or try to climb stairs 2 at a time) -Add 4" to the leg length - Widen the legs so they fit around my clearly enormous thighs (thanks, McCall's) and also add a flare from the knee because that's always fun. They claim to be flared but they only are if you are a stick insect. I dread to think how tight the skinny legs are! - Add 4" to the straps so that they can actually be adjustable.
0 Comments
mad This weekend I finished making these glamorous wide leg trousers. I managed to 'borrow' some beautiful silk from my mother's stash and knew it needed to be made into something special. I think I got the pattern free in a sewing magazine that I picked up at the station while waiting for a train, enticed by the free patterns. I'm not sure which one. I really liked the idea of wide leg floaty trousers for walking along the beach or sipping coctails on a summer evening and thought this fabric would do perfectly. The pattern is very simple to follow. I only made a few changes: I sewed french seams so that the fabric wouldn't fray and made them longer. I'm quite tall but these trousers are ridiculously short considering the model is pictured wearing them in heels. They only have allowances for a narrow hem as well. So I added 5" and used 1" on that for a wider hem. I also added 1" to the seat but in hindsight could have added a little more (maybe 1.5-2") and I don't have a very tall body- I often use petite patterns. I was a little worried about the fabric requirements as I had half a metre less than suggested and a narrower width but it fitted even with the extra length and without any complicated Tetris. Overall, I'm pleased with the result and look forward to stepping out in my billowing trous. 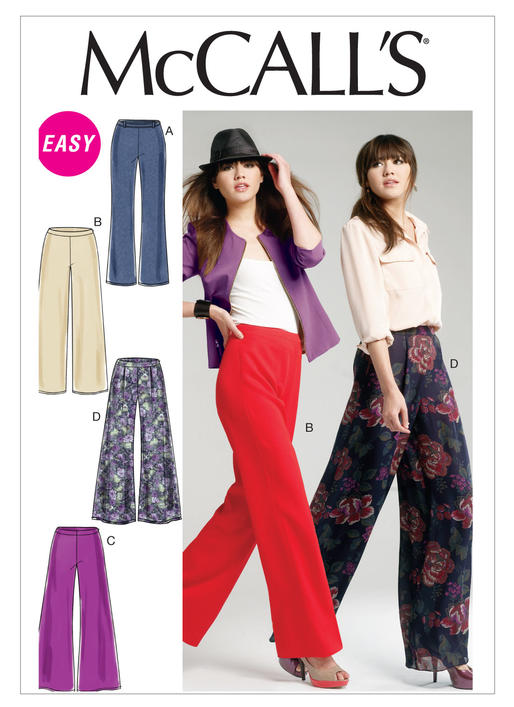 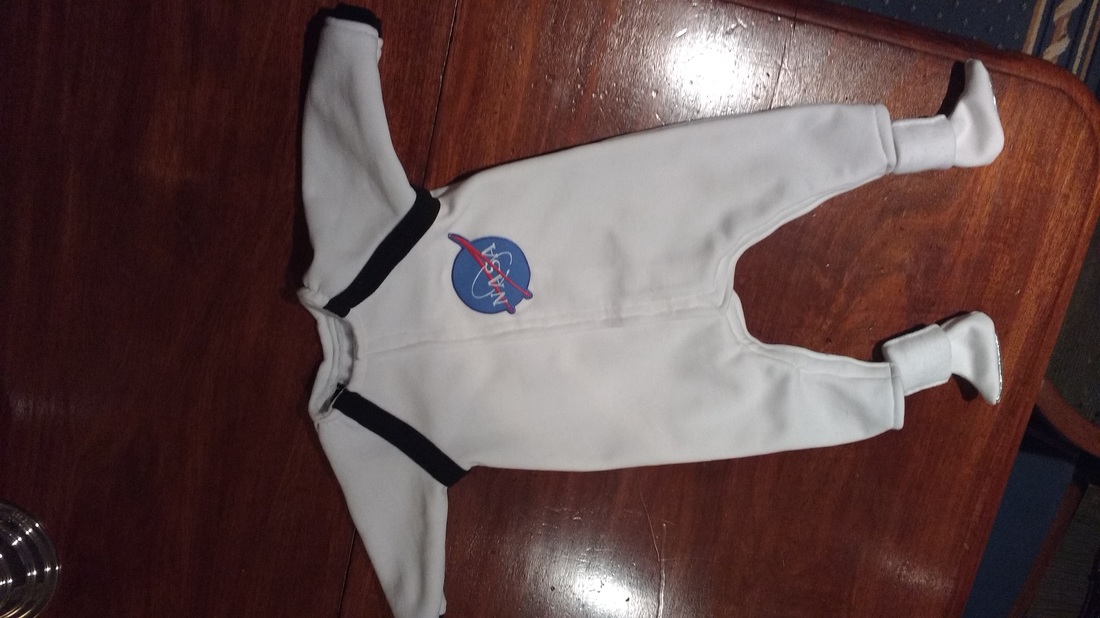 My SO welcomed a niece into his family recently and I'm very excited to have a small creature to make silly outfits for (particularly as I have been banned from making guinea pig costumes). I though that she needed something sciency to inspire her into the correct career choice and that baby grows look a lot like space suits. 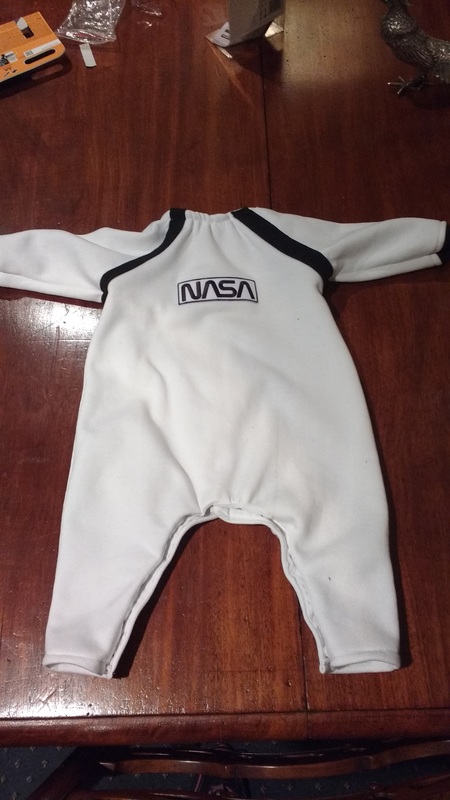 She is only a month old so I made the outfit in the 3-6 month pattern size as I hear they grow quickly (the booties didn't fit!). 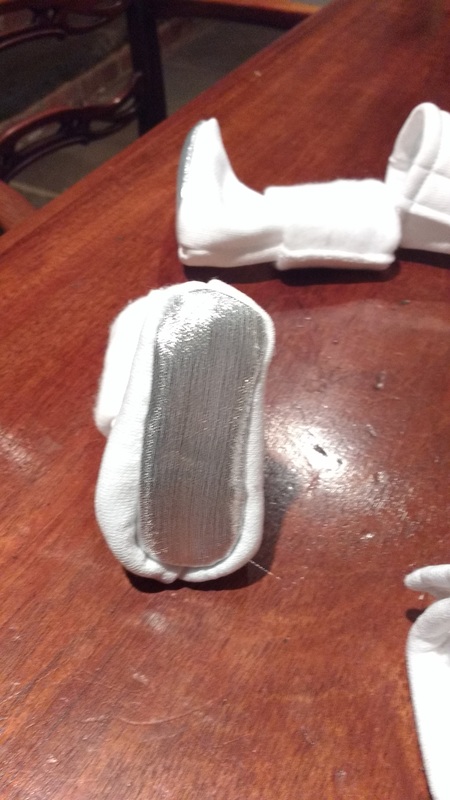 The main fabric was made from white sweatshirting (hoodie material) with stretch black ribbing to make the patterns. 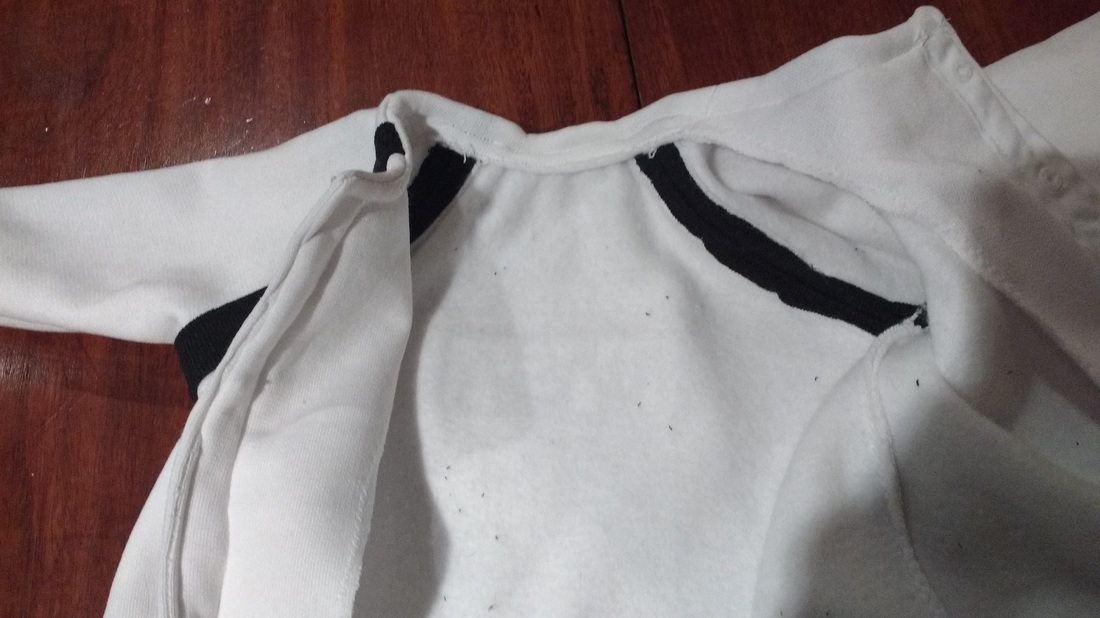 I used shiny silver fabric for the base of the moon boots and was going to use it as a helmet on the edge of a hoodie but I wasn't sure if babies were allowed hoodies so didn't add it in the end. 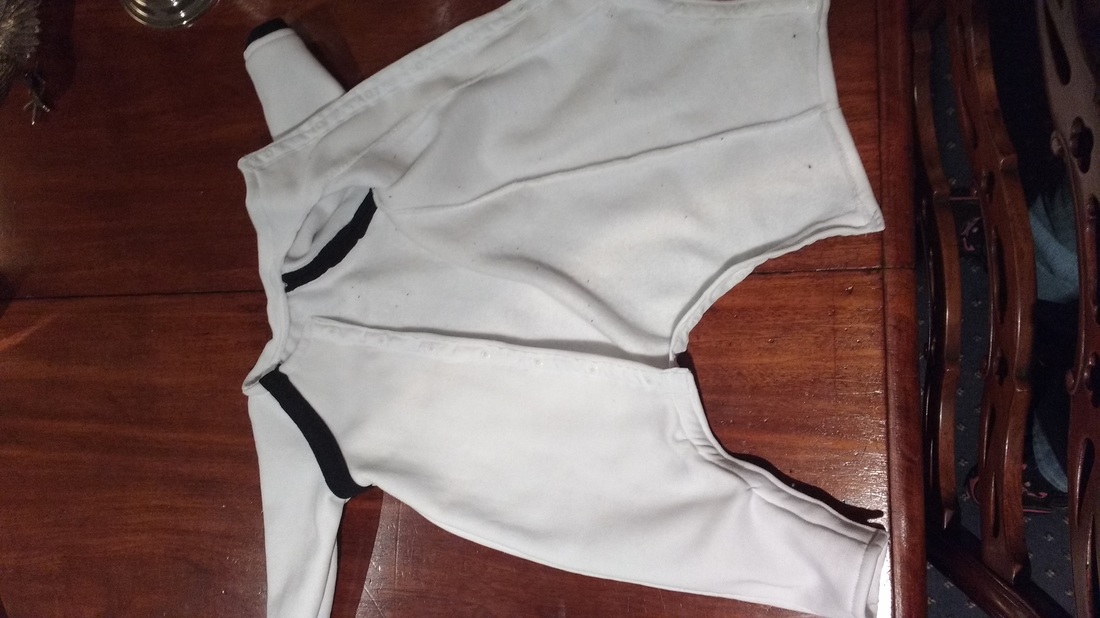 I hope she likes it! And hasn't already grown too big to wear it...
With the SO starting a real job for which he'd have to wear a suit all day, I decided to make some shirts for him that would actually fit and wouldn't cost huge amounts of money: they're only cotton after all! I think it's ridiculous that men's shirts are sized neck size and that's all! It's really hard to put on weight on your neck; how can that possibly be representative of your girth! The SO has a really large neck so shirts tend to either choke him or float around him like a tent. 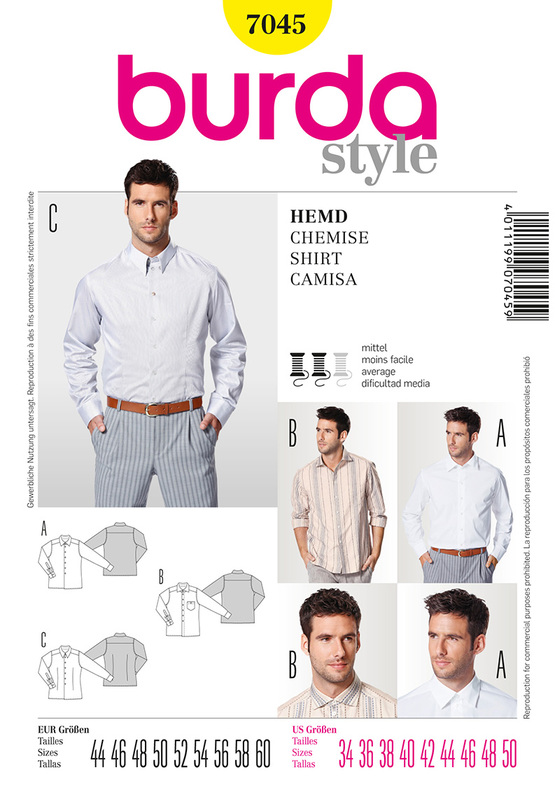 I used the Burda 7045 patten and made shirt A for all of them but got rid of the collar loops because they're silly. I'm still not very impressed with Burda as a pattern company as they're instructions aren't excellent but now I have a sewing machine that does button holes for me, shirts aren't that fiddly. I managed to find some Paul Smith shirting fabric on ebay and some 'designer Italian fabric'. You only need 2m and about 13 buttons which means most shirts are less than £8 each. I made four shirts in the end, including a test one in light blue. I used a large neck and collar size and then slimmed it down below the underarm and made it the correct size by the waist. I didn't do much top stitching as I noticed that shop bought shirts didn't seem to have it. The shirt pattern was relatively easy but you do have to be very careful when working out which sleeve is which! A couple of sleeves have extra darts in from where I had to pick out the placket.
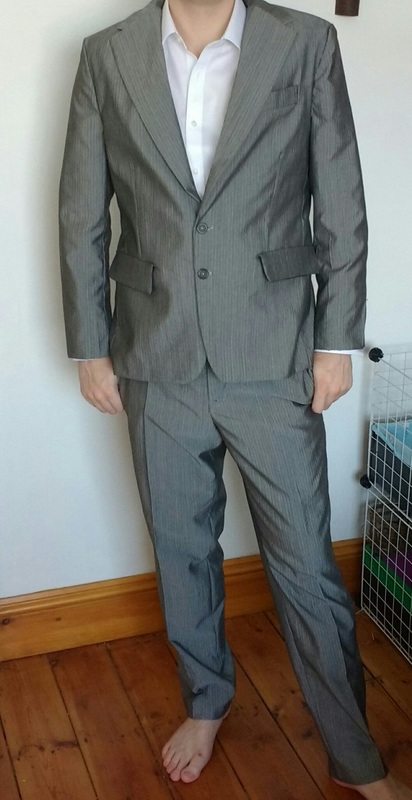 My recent project has been making a suit for the SO who started a real job recently and had to update his wardrobe (shirt posts to follow). I used a grey pinstripe suiting fabric that the eBay seller claimed was designer Japanese fabric (I have since noticed Asian men in shiny grey suits so this could be true). It has a slight sheen and no stretch. 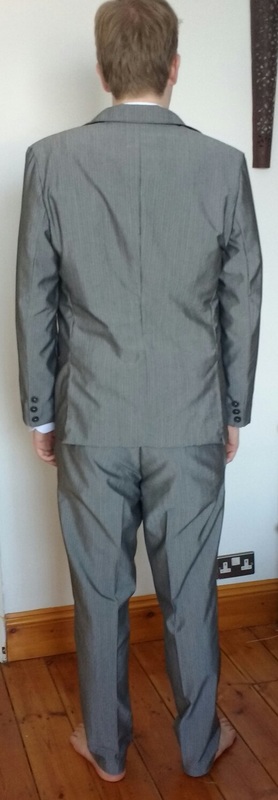 The pattern I used was a Burda suit pattern; it was the only men's suit pattern I could find on Jaycotts. I'd never used a Burda pattern before and I'm pretty unimpressed. There are about half as many instructions and diagrams than other patterns and fewer labels on the patterns themselves. There isn't sizing on the pattern envelope: you have to pull out all the sheets of paper. There is also no recommended button size or fabric type. 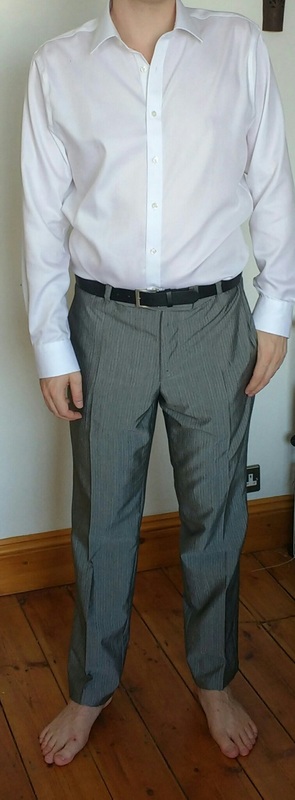 I'm not an inexperienced sewer: I often see Vogue advanced patterns and while I've never made a man's suit before, I have made a lot of women's. I found the instructions very unclear and had to do a lot of unpicking once I worked out what was actually supposed to happened. I also watched a lot of YouTube tailoring videos to help me. 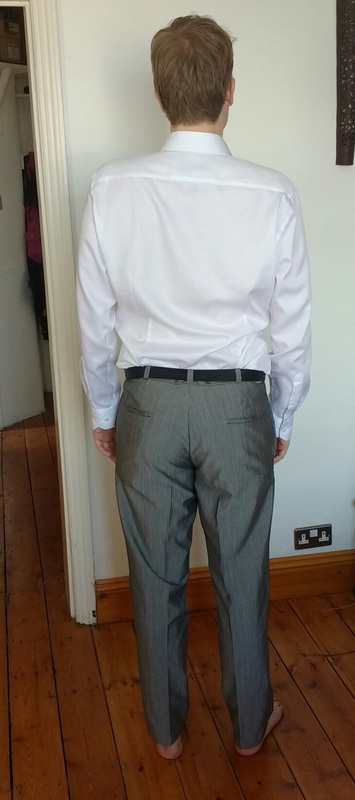 I know that that you're meant to make a muslin and adjust but I've never had to do that with patterns. While this is an incredibly stylish suit (of course it is- I made it), it is not a perfect fit based on the measurements on the pattern and comes out a little tight in the chest. 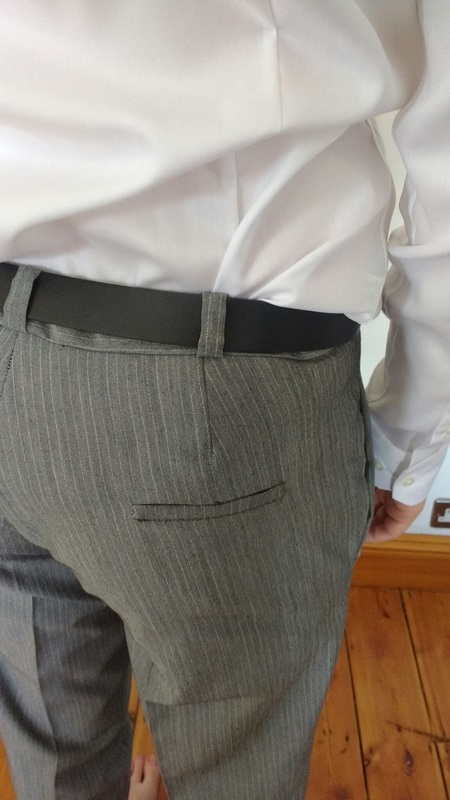 The main challenge that I faced with this suit was all the he pockets. I haven't really done welts or piping before and these are certainly not explained! 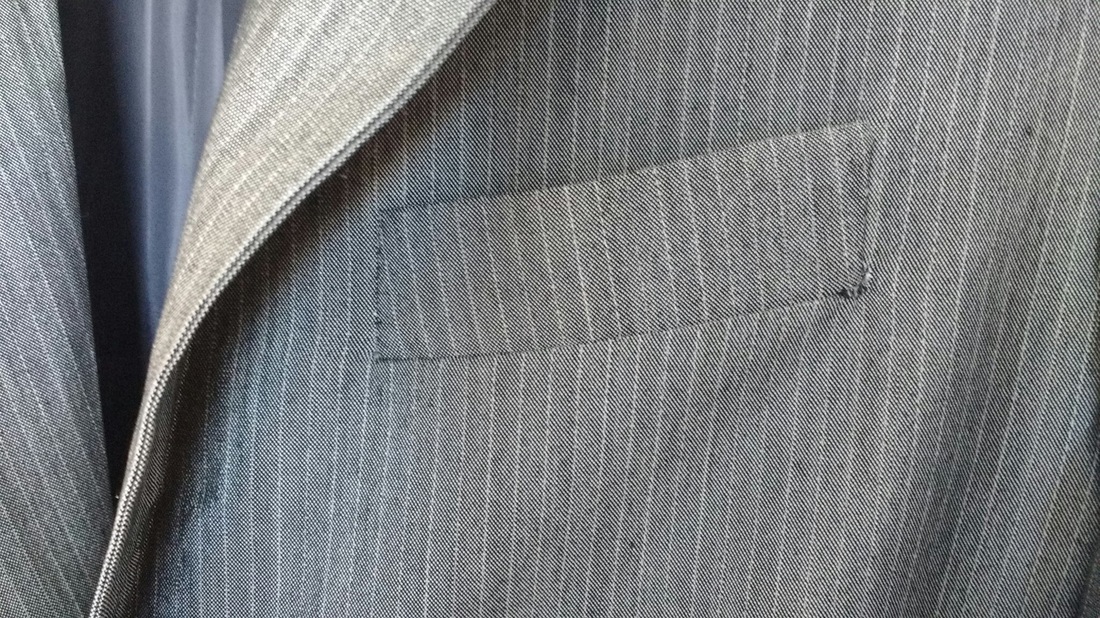 Sew three sides of the welt and then turn right side out and press. Place the welt with seam allowance inside where the pocket hole will be, facing away from the hole. Pin with pins right at the edge so that you can see where the welt ends. Put lining over the top so that it covers the whole of the pocket hole. Sew the hole as a trapezium going exactly to the edge of the welts. Cut the pocket hole as a strip with two LONG triangles at the sides. Turn the right way around. T'Dah! (I feel the patten instructions skipped to the 'T'Day') 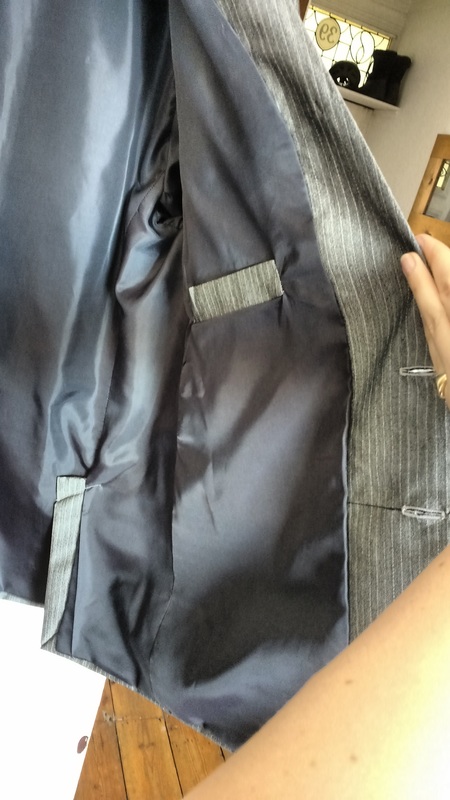 There are a LOT of pockets on a man's suit! SO also requested inside pockets. I made these using the outside pocket pattern and a welt from the suit fabric. 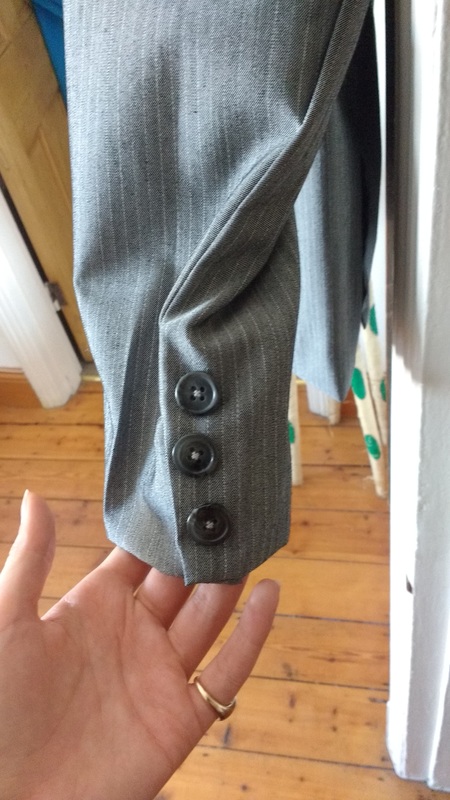 This was always going to be the worse suit: I have some more expensive wool fabric to make a better fitting one (updates to follow around Christmas time) so changes I will make:
1) Height- the suit pattern says that the SO is taller than the height recommended for the suit. I added an inch to the bottom of the trouser and have had to turn it and more up so I won't be doing that next time. I will, however, add an inch to the top of the trouser around the zip to allow a little more room. 2) The sleeves: these had to be turned up quite a way so I will take off half an inch from the end of the pattern. 3) The chest: go up a size in the chest (to a 46) and then bring it in again at the waist. 4) The sleeves part ii: there was a lot of ease in the sleeve (it was about twice the size of the armhole!) and so I have to gather all the way around to make it sit flat in the armhole. Shiny fabric is very unforgiving and this took several attempts. I won't make the top of the sleeves a 46. Hopefully, this means there will be fewer creases. 5) The sleeves part iii: the sleeves get caught around the elbow if the elbow is bent and have to be pulled down again. Next time I will use smaller seam allowances around the bicep and more slippery lining for the sleeves. 6) The front of the suit needed a little starch to make it sit nicely. I'll use heavier interfacing next time. |
Apparently SewYou rip what you sew! Archives
May 2020
Categories
All
|
 RSS Feed
