|
This week's Facebook spam was full of avocados and novel recipes for them so I've devoted half term to testing them out! 
Avocado Brownies:2x mashed avocado 8oz melted dark chocolate 1 cup caster sugar 3/4 cup plain flour 1/4 cup cocoa 2 eggs 3 tbls oil (the recipe suggested avocado oil but who owns that?) 1/2 tsp baking powder 1 cap vanilla essence 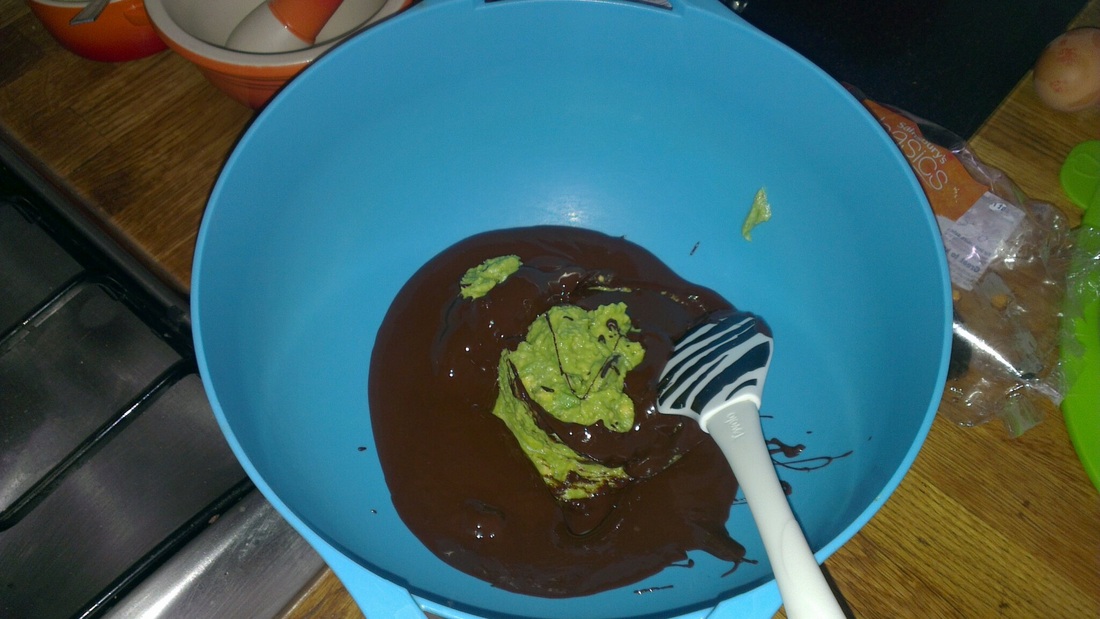
Melt the chocolate and vanilla essence and add mashed avocado. Beat in the eggs and sugar then add the dry mix. Finally mix in the oil. It gets quite stiff so mix well or the melted chocolate will cool and stick to the bottom of the bowl.Pour into a lined tin and cook for 30 mins at 180°C.Leave to cool and then ice. 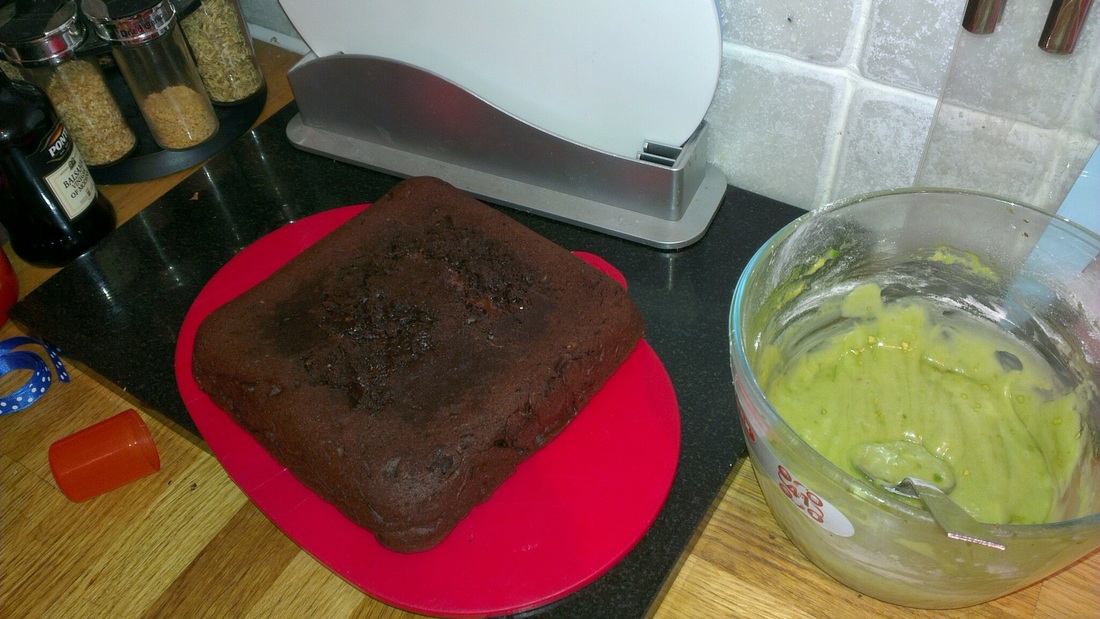
Avocado icing:1 x mashed avocado 1 tsp vanilla essence Icing sugar Add icing sugar until mixture sets. 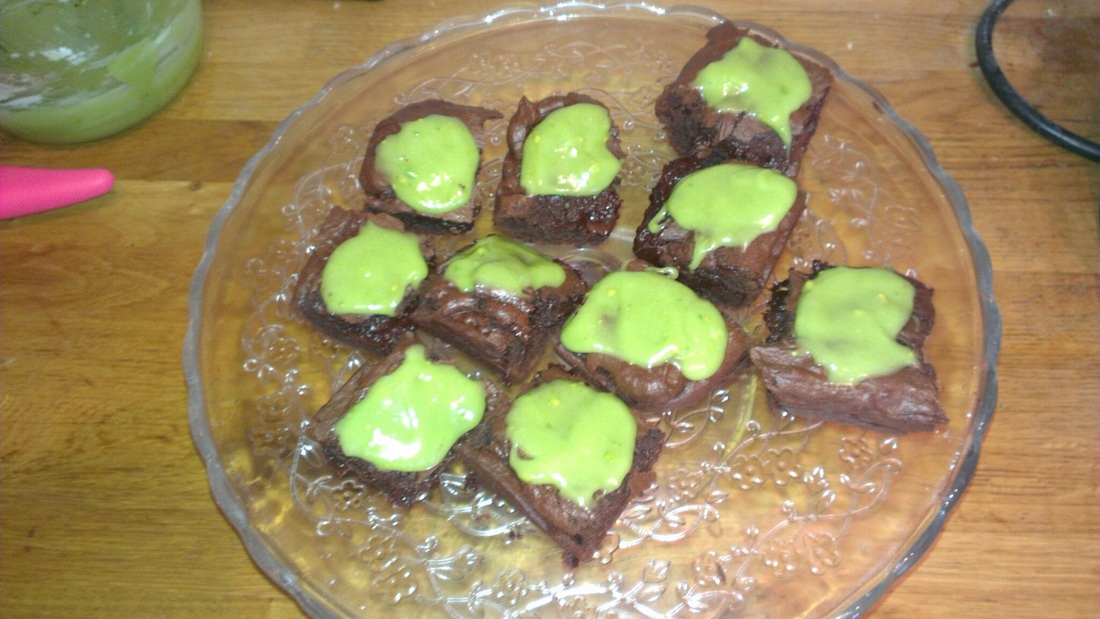
The brownies were very rich and perfectly tasty but it was hard to find the point of the avocado: it wasn't replacing any ingredient and didn't really add to it.The icing was very sweet and I can really only see it being useful if you're allergic to green food coloring.To conclude: next time I have three unwanted ripe avocados I will eat them in a salad.
0 Comments
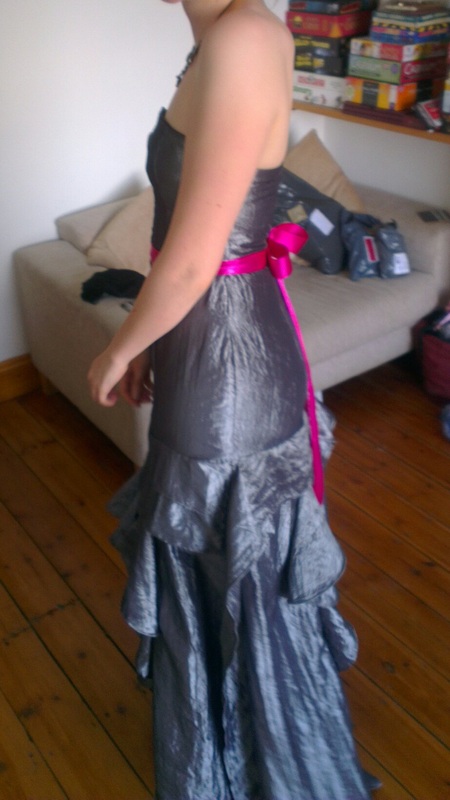
This ball gown is a combination of two patterns: V8858 C for the skirt and V8766 C for the bodice. This is the first time I've combined patterns so was quite an experiment! 7m grey taffeta 'taff medium crash 34' from my fabrics.co.UK 1m black cotton 'Lula 33 soft' from my fabrics.co.uk- fine for lining but pretty poor quality for anything else. 3m fusia 38mm ribbon from eBay 60cm plastic boning from eBay 22" invisible grey zip from eBay. 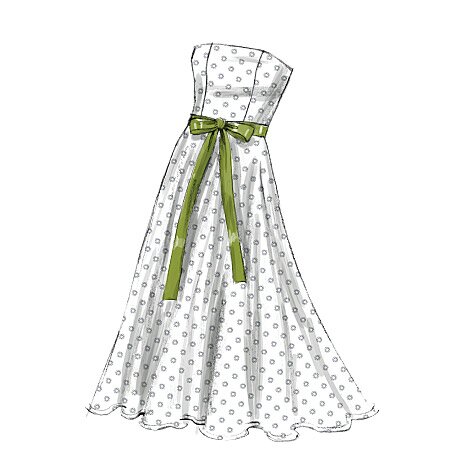
Part One: the Bodice I added1" to the bottom of the bodice and I have a pretty short upper body so would recommend everyone do that. Next time I'll add 1" at the top too as it's a little low cut. The boning was a little fiddly as it had been rolled up for a long time. Next time I'll try to straighten it out first. I was worried that it wouldn't fit as the fabric looked very small so did narrow seams but just ended up taking them in again.Note to self: make sure the bodice fits before moving on because it's harder too adjust once the lining is on. 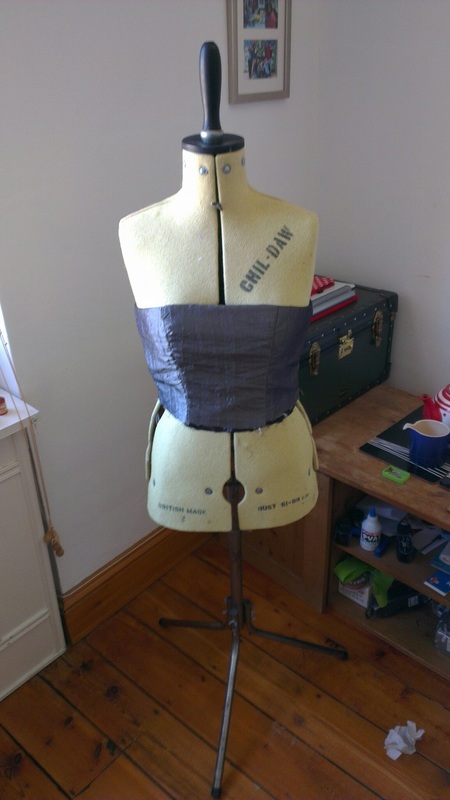
Part Two: the Upper Skirt I added 1" to the bottom of the skirt and next time would add 2". It needs to become wider at the bottom on the extra bit. I thought it didn't fit properly and undid the seams only to have to put them all back at the end. It's just the final couple of inches that need widening by about 0.5" each seam. I attached the bodice to the upper skirt and then added the invisible zip. I pressed the seam upwards and sewed the bodice lining over it. 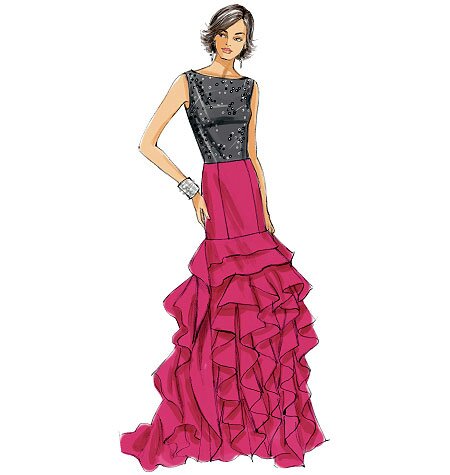
Part Three: the Lower Skirt There are a LOT of flounces on the lower skirt and it takes a lot of ironing. I added 2" to the lower skirt panels and back panels but not to the flounces. Make sure all the flounces don't reach the floor or hemming will be difficult. The suggested method of hemming the flounces was messy so I folded them over twice. I hemmed the bottom of the dress by turning it up and sewing a zig zag stitch.Take care when sewing the back as the back and back side panels are different lengths to allow for a train and it's easy to sew the wrong two together. 
Part Four: the Finishing Touches The panels of the bodice and the skirt don't line up so I added a pink ribbon around the middle. It also breaks up the grey quite well. I've put a bow with a long tassel at the back fixed to the pink belt via two hooks and eyes. 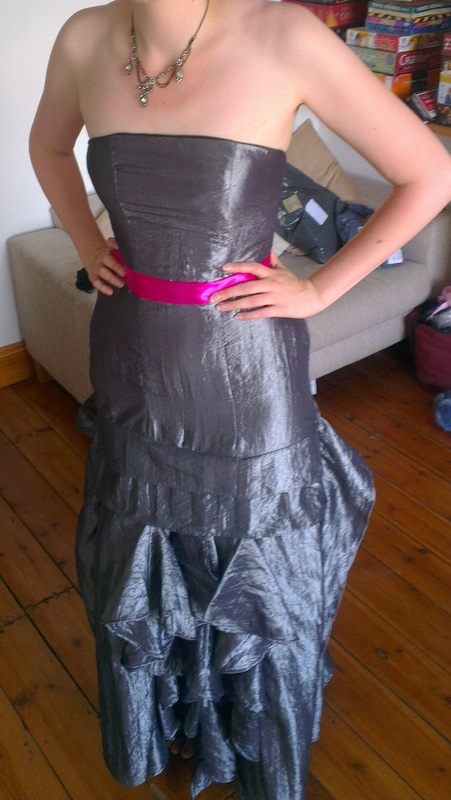
Overall, the flounces were a little fiddly and I got a lot of the fitting wrong first time. But it looks pretty awesome.Now I just need a black tie event to go to....
|
Apparently SewYou rip what you sew! Archives
May 2020
Categories
All
|
 RSS Feed
