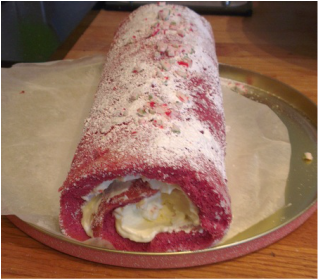
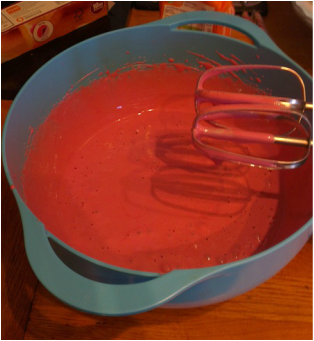
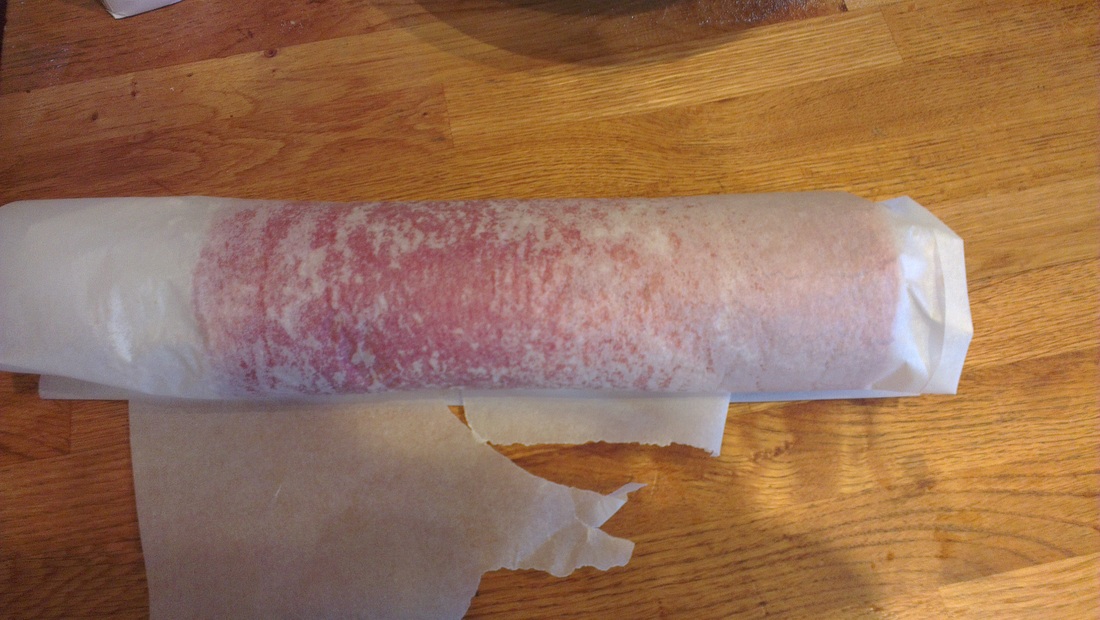
 I saw this recipe in Good Housekeeping and thought I had to try it! It is a red vanilla roulade with peppermint cream. For the roulade you need 3eggs, 4oz caster sugar and 4oz flour, 2 capfuls of vanilla essence and strong food colouring (mine wasn't strong enough so it came out as a dark pink sponge rather than bright Christmas red). For the peppermint cream, which is delicious- I could've eaten it straight from the mixing bowl- you need 300ml of double cream, 4oz icing sugar and three capfuls of peppermint essence. First, whisk the eggs, sugar, vanilla essence and food colouring together for about 10 minutes until you can see trails when you remove the whisks. This makes the roulade nice and fluffy. Then fold in the sifted flour and pour into a roulade tin or in my case a baking paper lined baking tray, and cook at 180 degrees Celcius for 15 minutes until it is nice and springy.
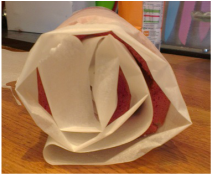
 Lie a large sheet of baking paper out on the counter and dust it with lots of caster sugar. Then, as soon as you take the roulade out of the oven, upturn it onto the paper. Peel off the cooking paper and then dust the back. Fold the new sheet of paper over the roulade and then roll it up. This should prevent cracks. Leave it to cool. While it is cooling whisk up the icing sugar, peppermint and cream until it holds a peak. Unwrap the roulade, spread the filling thickly over it and then reroll. 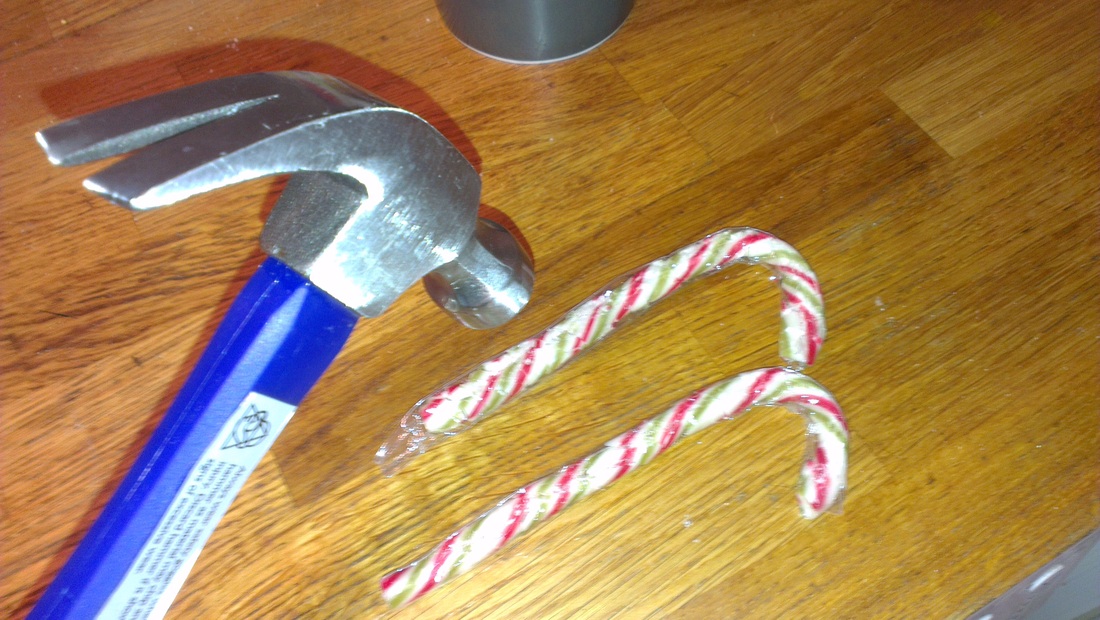 To decorate it, dust with icing sugar and smash up a candy cane with a hammer to have candy cane sprinkles. Candy canes are quite tough you will want to do this on a hard surface! 
0 Comments
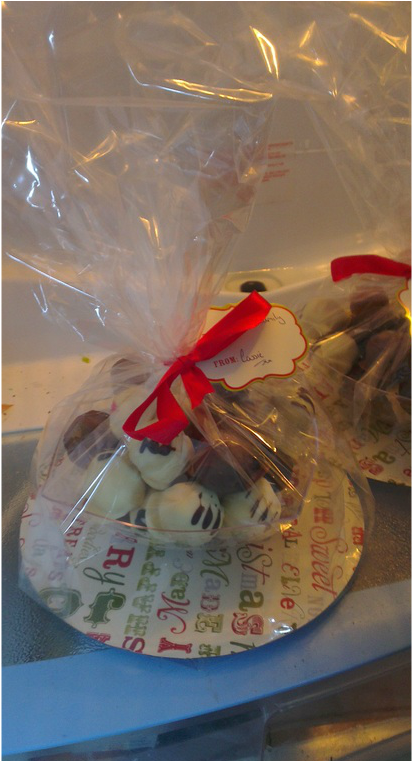 These are delicious and really easy to make, just four ingredients: 200g of oreo cookies, 100g of cream cheese, 150g of chocolate to coat, your choice of flavouring. This year I've tried two different biscuit bases: oreo cookies and custard creams. I've also chosen four flavours: vanilla and mint for the oreos and raspberry liquor and orange for the custard creams. I put in two capfuls of the essense in the oreo truffles but was worried it wasn't strong enough so tried four for the custard creams. These are really excellent truffles to make because the centres don't melt as you coat them in chocolate. The cookies also give a very firm, strong filling. 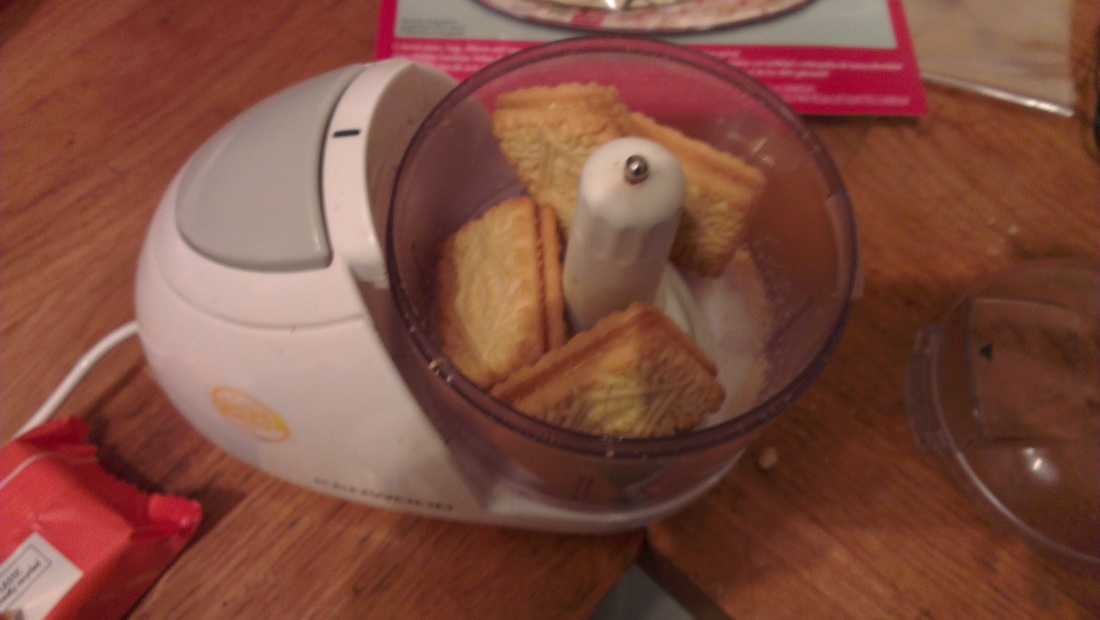 Step 1: Crush up your biscuits in a blender 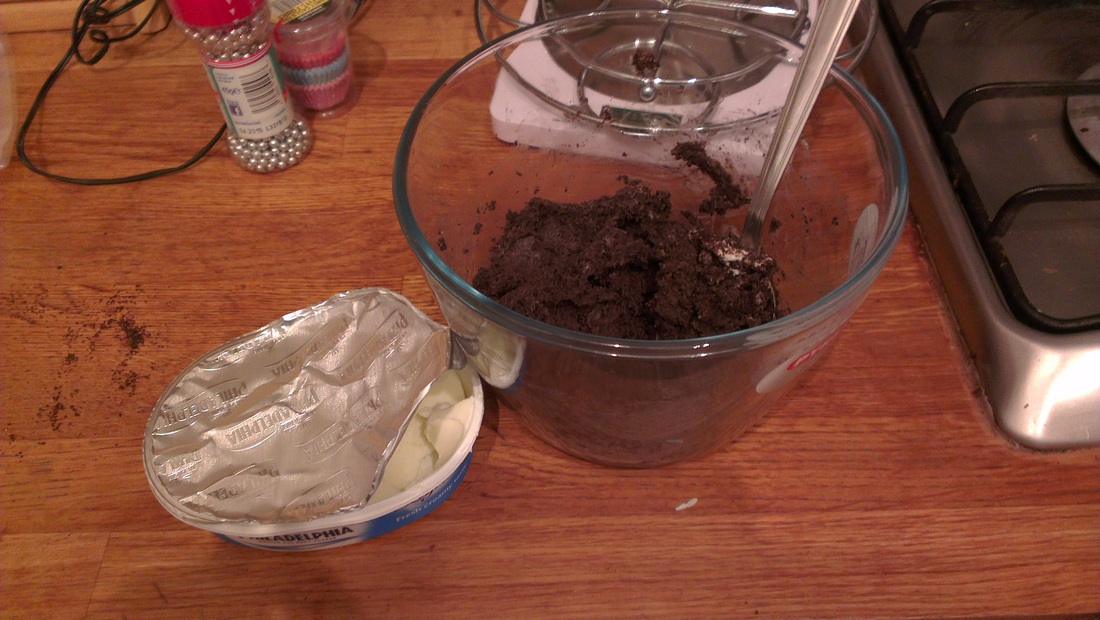 Step 2: Mix crushed biscuits with the cream cheese and flavouring until they are a smooth paste 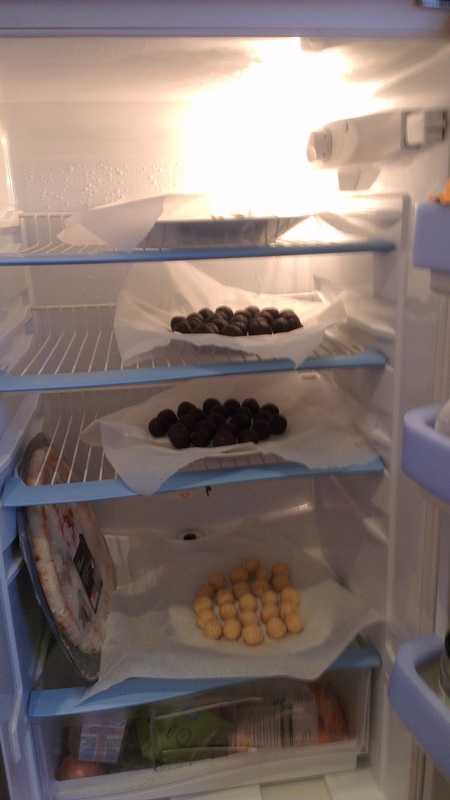 Step 3: Roll tea spoon sized lumps into balls and leave in the fridge to harden. mmmm..... so many truffles! 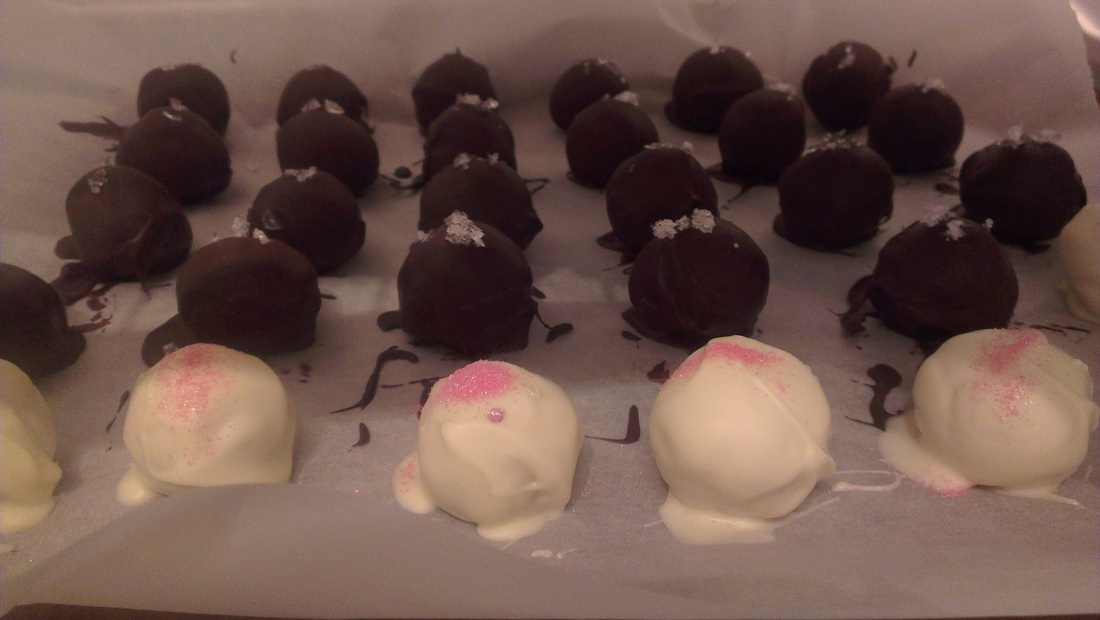 Step 4: Melt some chocolate in the microwave and coat your truffles in it. I find the best method is to roll it with two tea spoons. Then place on a sheet of baking paper and leave it to harden before you place them back into the fridge. This will reduce sweating. 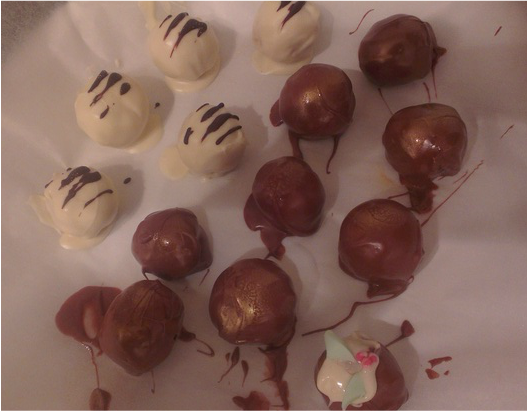 This year I've gone for four flavours: vanilla coated in milk chocolate with the golden spray, mint coated in dark chocolate with a few crushed glacier mint flakes to decorate, orange coated in white chocolate and dark chocolate fork stripes and finally, raspberry liquor coated in white chocolate with pink edible glitter I make this Christmas cake every year and it makes a lot so you might want to halve the ingredients! 12oz Plain Flour 8oz Butter 8oz Brown sugar 4 eggs 8oz raisins 8oz sultanas 8oz currants 6oz mixed peel 2oz cherries 1 table spoon black treacle 1/4 cup brandy 1/2 teaspoon all spice 1 table spoon liquid glycerine 1/2 bicarb Some supermarkets sell mixed bags of dried fruit and mixed peel so you can substitute those in instead. I also made it with port instead of brandy last year and it was delicious. 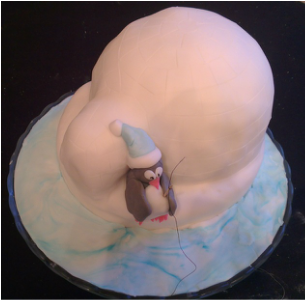 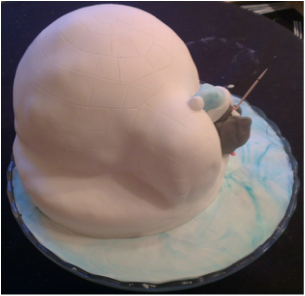 Soften the butter and then add half the flour and all spice. Then beat in the eggs and sugar and the rest of the flour. Add the fruit, glycerine, brandy, treacle, and bicarb (dissolved in water). Pour into a greased and lined tin. I use a lasagne dish normally as the mixture is so large: my mother usually makes two smaller cakes. Cook for 2 hours at 150 degrees Celcius. 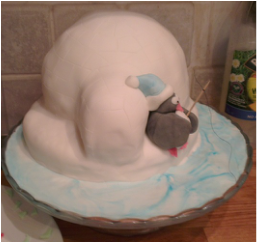 Add brandy to the cake weekly, keeping it covered with a tea towel or cling film. I find the best way to get it really gooey is to use a syringe to get the brandy deep into the centre of the cake.
Then cover the cake in marzipan; leave it for a few days to harden and then cover with royal icing. This year I decided to make an igloo-shaped cake using half a spherical cake tin mould and a normal tin. The penguin is made from icing and the door to the igloo is icing-covered marzipan. His fishing rod is made from a cocktail stick and some cotton. The water is made from white icing whose food colouring isn't properly mixed in leaving it with a nice swirling effect, similar to the stargate wormhole.  Fabulous Food Jewellery Fimo is a polymer clay, a little bit like playdoh but firmer and less sticky. It hardens in the oven when cooked for several hours at 130°C, depending on the thickness of your clay. I tested it with va thumbnail to see if I could still mark it. 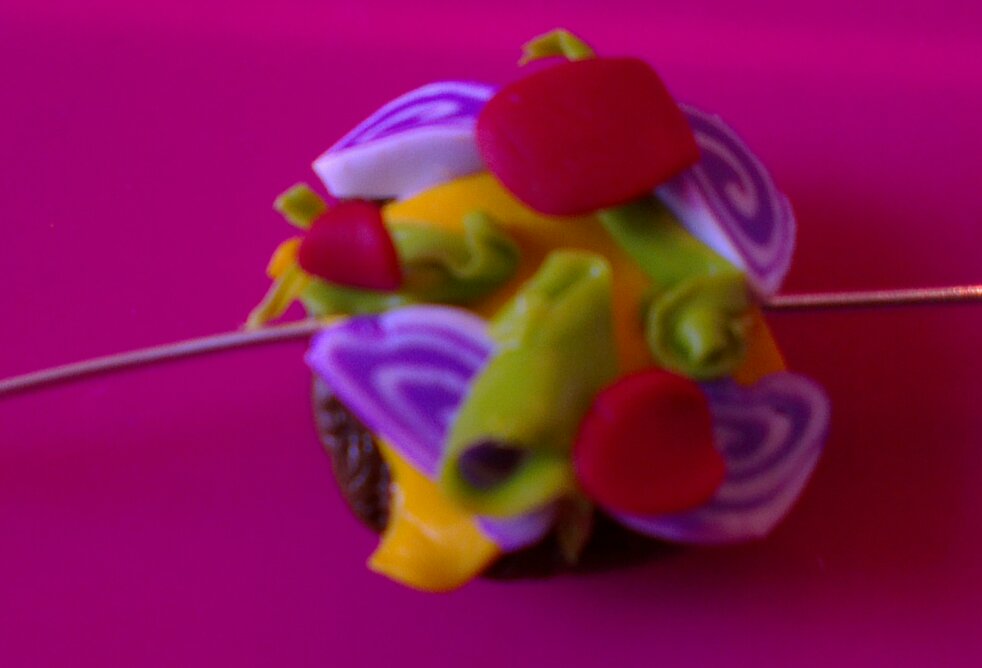 Inside the burger... You can build up your burgers as you would with the real ingredients. The lettuce was made by cutting shards off a block of green fimo with a sharp knife. The red onions were made by rolling up purple and white clay and then cutting slices. I'm particularly proud of them.  Inside the tuna melt baguette You can add texture using a sharp knife or some scrunched up tin foil. I bought a beginner Fimo kit from eBay and it came with some wooden texturing tools. 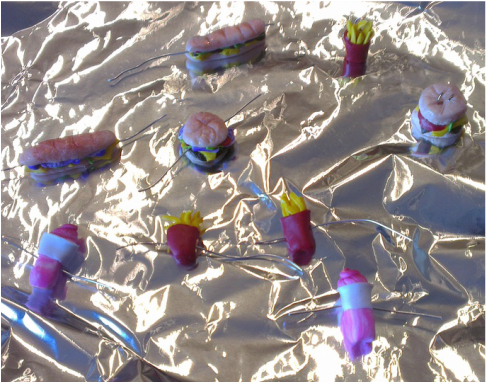 The finished food To make the bread look more toasted, dust the top with glitter colour powder.  And some novelty Christmas earrings You can attach the jewellery O rings straight to the fimo before cooking. If you are making beads made sure you put BIG holes into your clay.: I found it impossible to pull metal wire out. 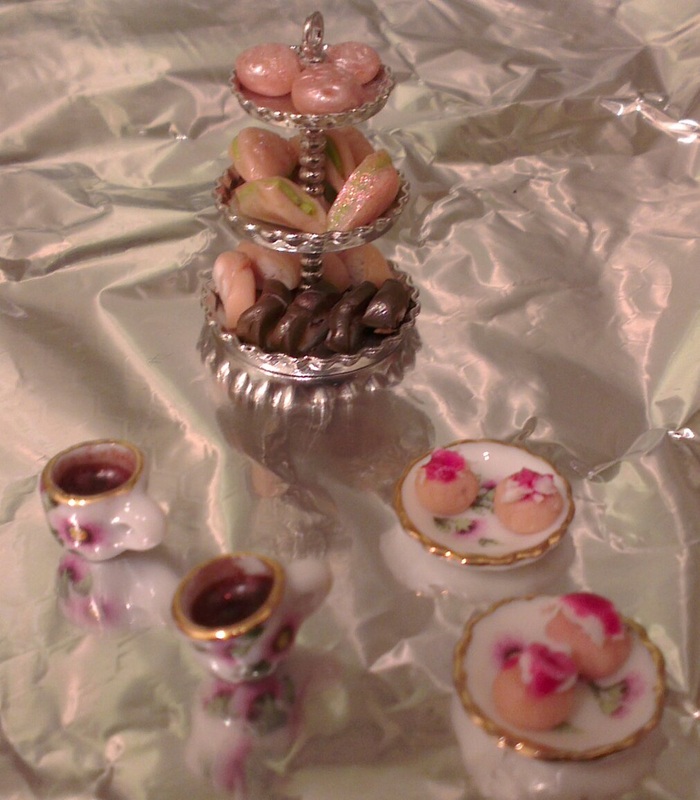 Afternoon tea If you want to make something a bit more fancy, you can combine the fimo with doll's house miniature crockery for a fabulous afternoon tea. The fimo will stick to the ceramic or metal while it is heated and you can add the O rings afterwards using super glue or apoxy. 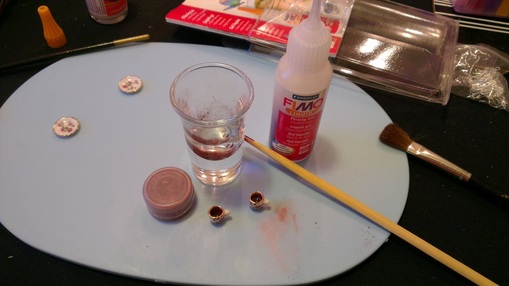 How to make tea and jam To make tea or other transparent things use liquid fimo. You can colour it using powdered colours and it bakes in the same way as the normal clay. That's how the tea and the jam was made. It is very sticky and does no flow easily once mixed. I had to dab it on using a chopstick. 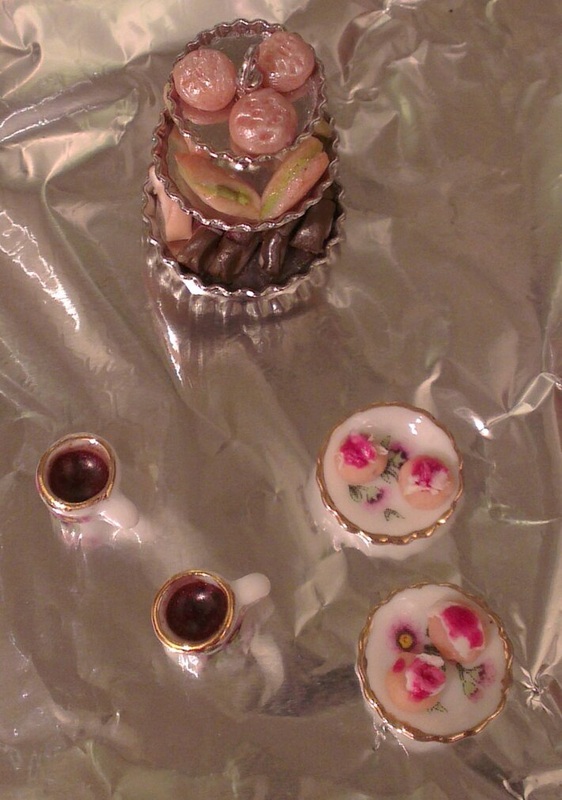 More afternoon tea Don't forget to glaze your creations once they are baked to protect them. You can get both satin and matt glazes. Some websites say use several coats but I've found one works fine.
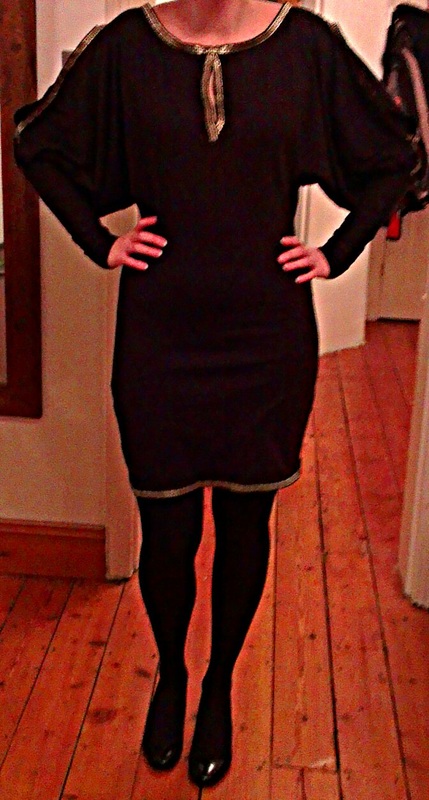
The dress
It's another Famous Frocks dress, this time a little disco number in honour of Diana Ross. I opted to go for the slightly more modern version. 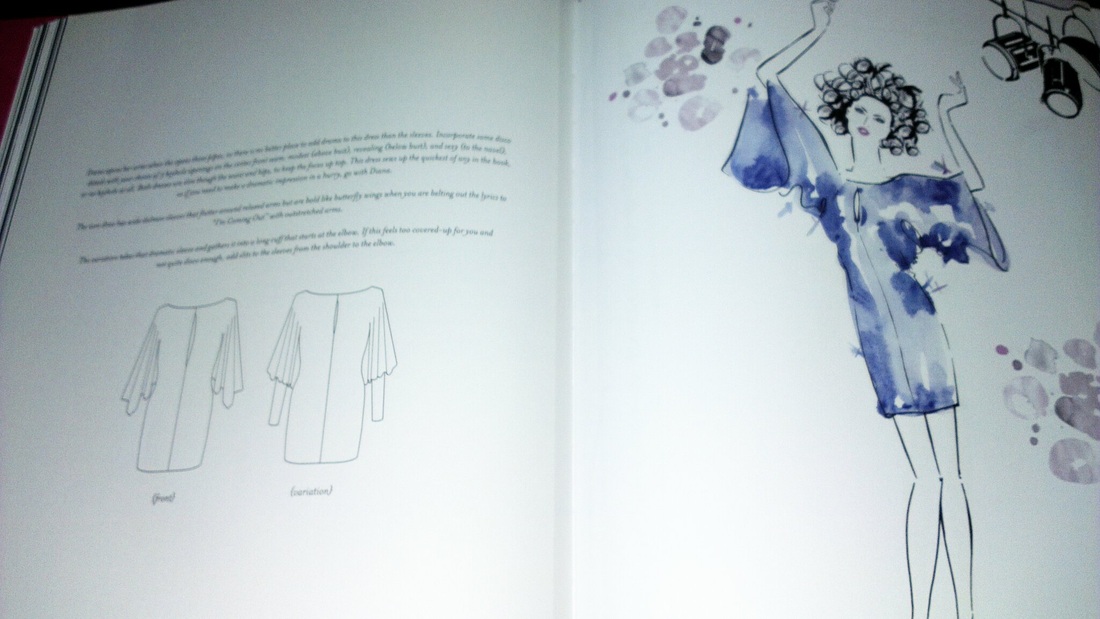
The book page
The variation has cuffed sleeves. I also lengthened the dress by 4", added some beautiful gold tape around the edges to make it a bit more glamourous, and made the keyhole a lot smaller (between top two notches). 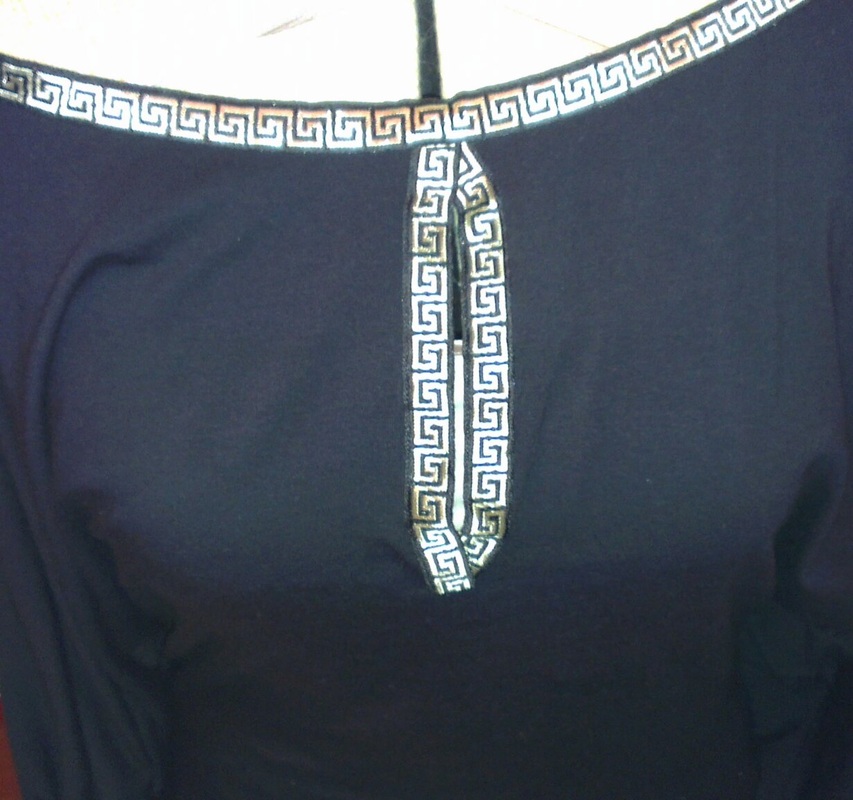
The 'sexy' keyhole
This dress was very easy and quick to make. It took 2m of black stretch cotton jersey and 6m of gold and black tape. 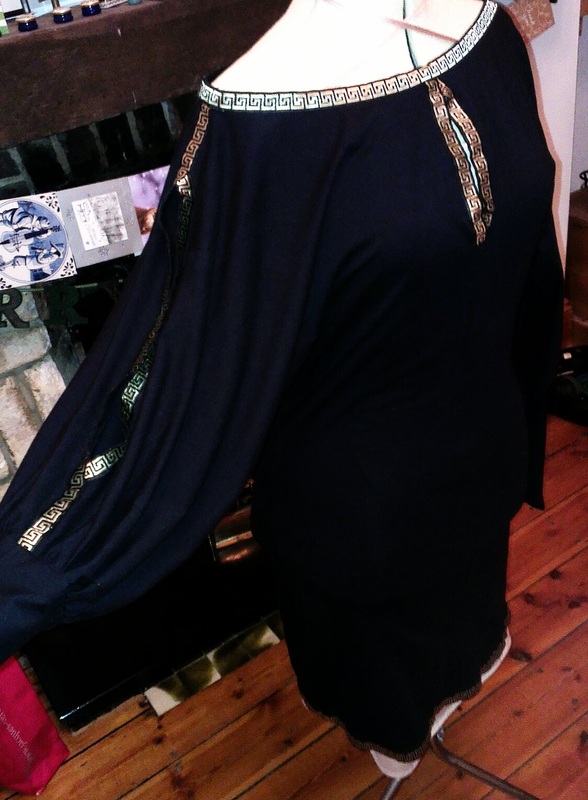
The sleeve slits
The pattern comes in four parts but I cut out the back as one piece, removing the seam allowance. If I hadn't put in the keyhole I'd have done the same with the front as seams on a tight fitting dress look clunky. You can cut them on the fold. 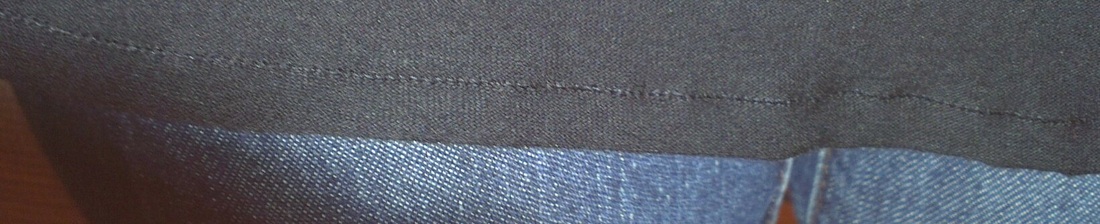
A very neat princess seam
I sewed the side seams as princess seams to keep them neat using a stretch stitch. 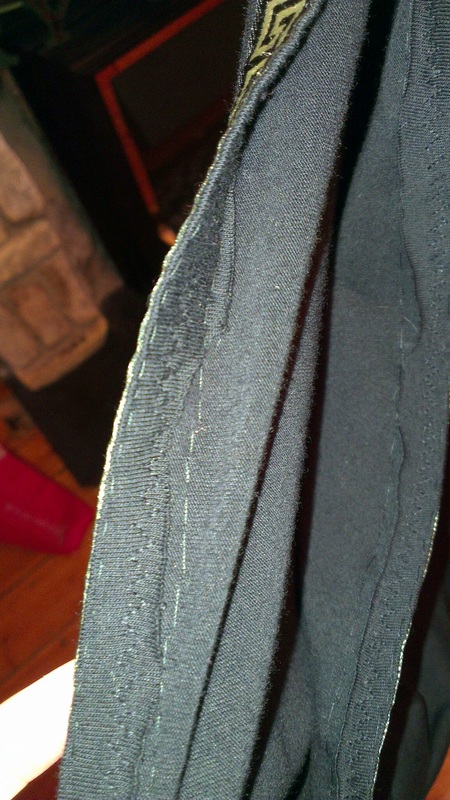
The zig zag hem
For the hemlines at the skirt, neckline and sleeves, I folded the fabric over once and used a stretch zigzag stitch. This could have been made neater by folding it over twice: I was worried that would make it roll over but the gold tape was strong enough to stop that. 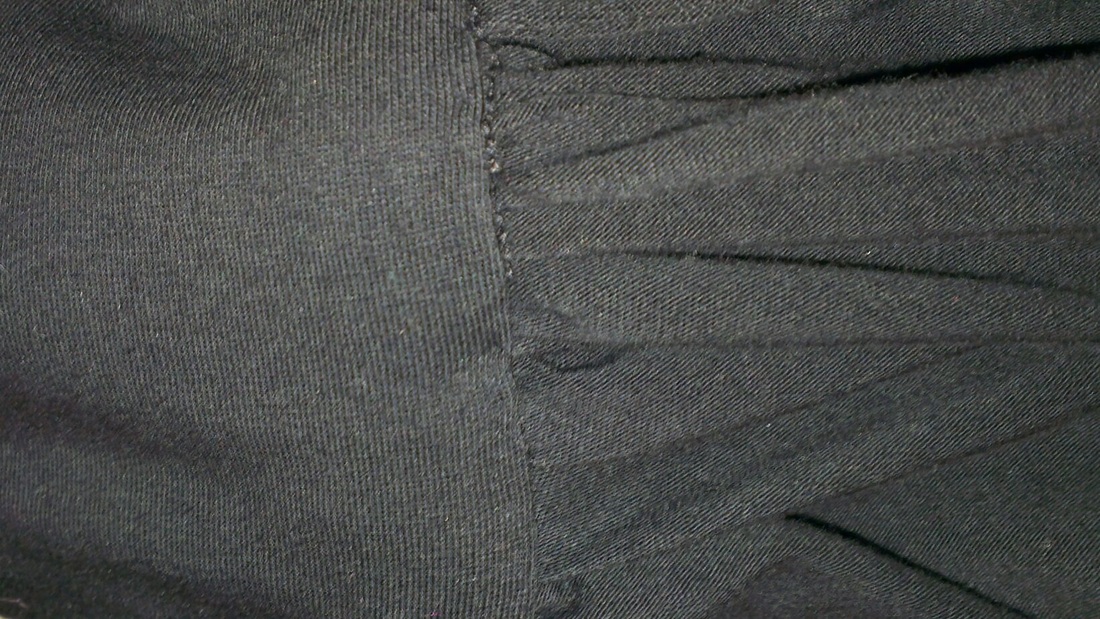
The sleeves
One of the bad things about the Famous Frocks book is that the inside of the dress looks very messy. They recommended sewing both halves of the sleeve on at once. Instead, I sewed one end of the cuff to the sleeve and then under stitched the other end of the cuff to the sewing line so you can't see the seam or the gathering. 
Another shot of the dress
So with the final piece, I'm all ready to party this festive season! Although I am developing a blister from hand stitching 12m of tape- next time I'll use the sewing machine! 
The original
|
Apparently SewYou rip what you sew! Archives
May 2020
Categories
All
|
 RSS Feed
