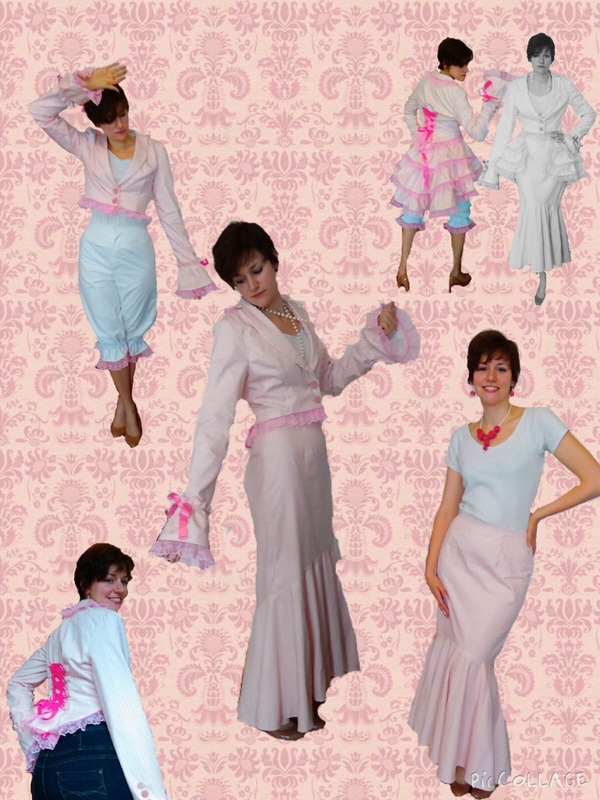
 I felt like making something fabulous as my big project this summer and working on some structure and what is more fabulous than a big rustley bustle?  This is a McCall's pattern M6670 and features a skirt, jacket, bustle and bloomers, very stylish. The cover of the pattern suggests using stripes and I liked that idea so found some nice light pink ticking fabric, lots of pink lace, bright pink ribbon and some pale pink velvet coloured buttons. With the bustle and bloomers combo it's a cross between Victorian prostitute and Eliza Doolittle at the races. 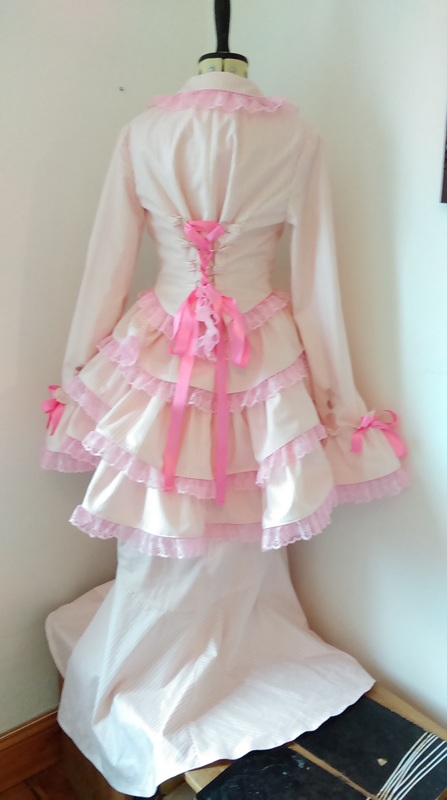 The fabric was a little light though, so I added white cotton underlining, the same I used as the lining, which took forever to cut out and prepare as each piece had to be cut out at least twice and then attached to its underlining. 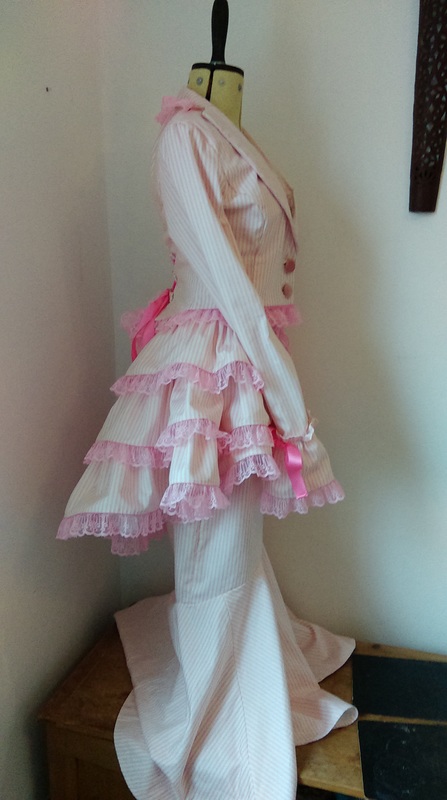 The skirt is a long, flowing skirt with gathered fish tail section below the knee. I got confused between American sizes and pattern sizes so bought patterns that were too small: they only went up to a 10 and I needed a 14; so I compared the differences in sizes that were on the pattern and added two. This mostly worked except for the hips, which meant I needed to use 10mm seem allowances on the skirt rather than 15mm. 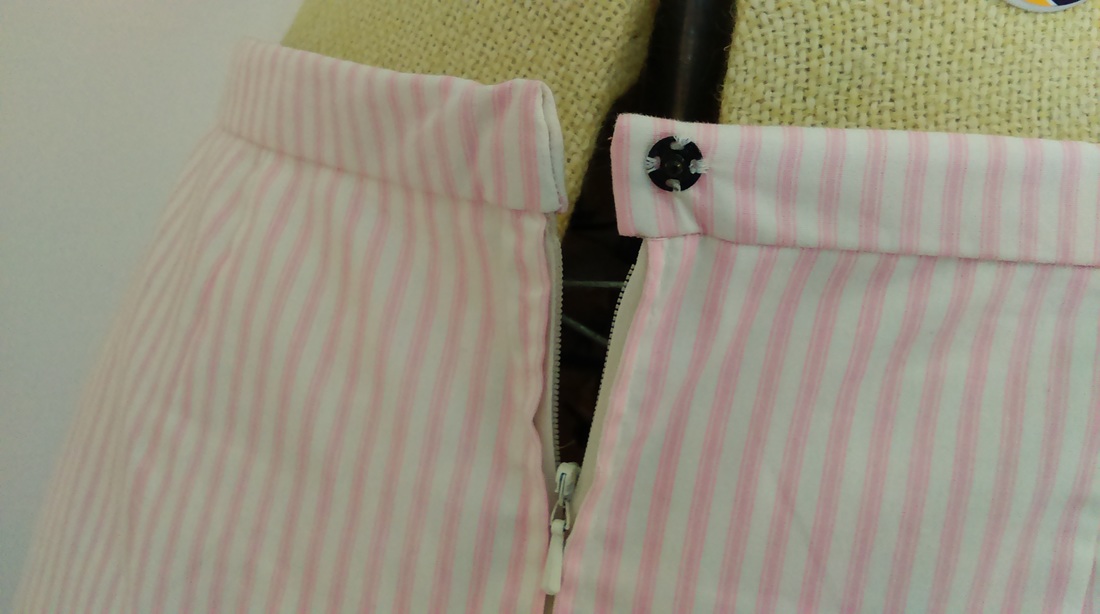 The skirt is held together with a zip and a hook and eye except I put in a popper because it looks much neater. I added the customary 2" to the skirt (I'm 5ft10 and often need to lengthen things) but I then had to take it up a little at the back to stop it dragging so it's a good, long pattern. 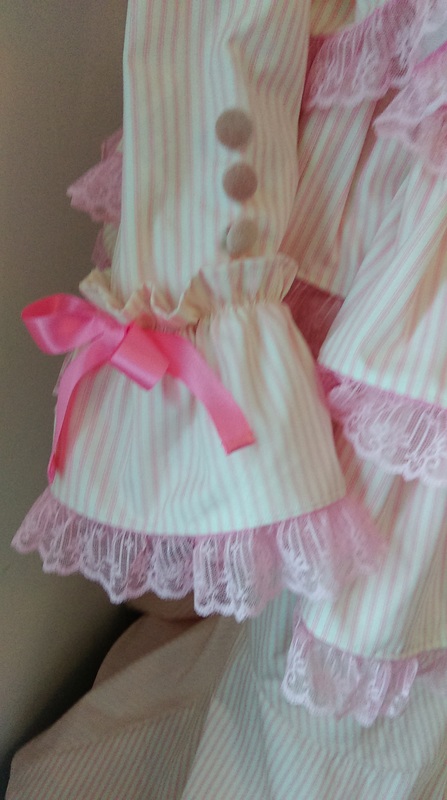 By itself, I feel the skirt can definitely be worn as a smart/casual floaty number 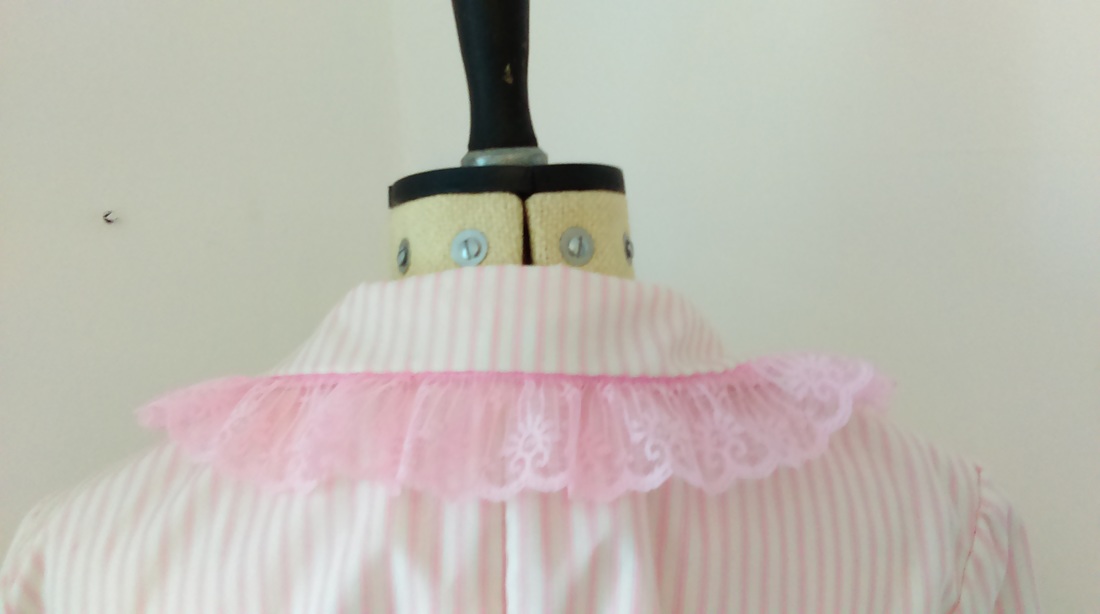 The jacket has a lace collar, lace hem, ruffled and laced sleeves with button decoration and ribbon lacing it up the back. 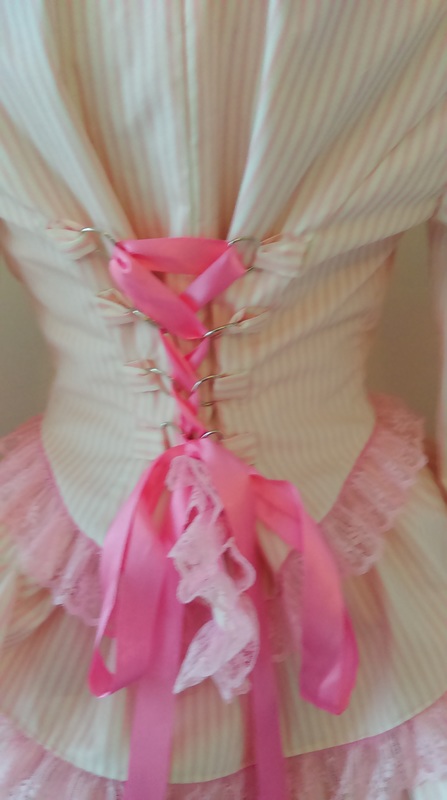 This pattern is only listed as a costume and so isn't perfect and there are a few changes that should be made to the jacket construction, particularly the lining: the pattern suggests joining the sleeve and the sleeve lining before attaching the sleeves to the jacket; however, you should sew the sleeve to the sleeve jacket, press the seam towards the sleeve and then hand stitch the sleeve lining over the top so there isn't an open seem. The sleeve ruffle should also be lined as you see the back of the fabric. 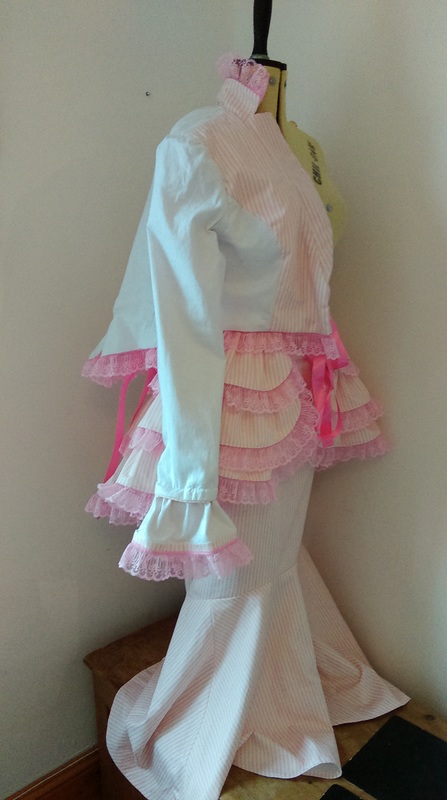 The back is laced up with a ribbon and needs tabs to be sewn onto the back. The pattern suggests doing this right at the end which means it must be done by hand or the stitching will be seen inside the jacket through the lining; either you need to sew the tabs on with a machine before attaching the jacket to its lining or put the tabs into the seems when sewing the back side to the centre back. 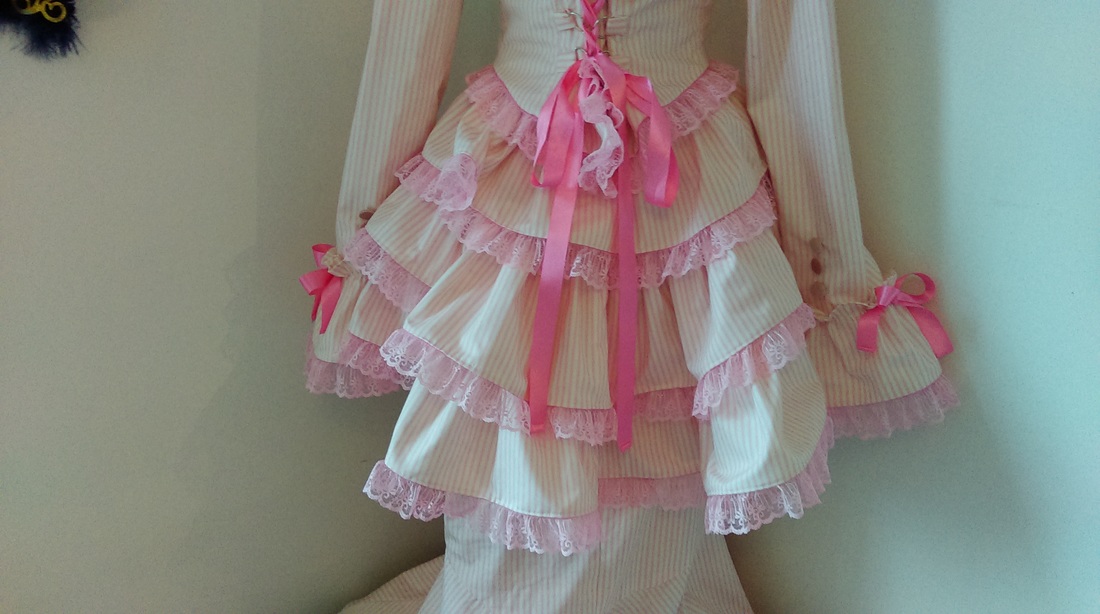 A note on sizing: the jacket is quite short and were I to make it again I would add at least 1" if not 2" to its length. I know it's meant to stop at the waist but it can hover slightly above the skirt. The sleeves are also very long. I added the customary 2" (again I have really long arms- 6ft 2" arm span), which weren't needed at all. After the hip incident with the skirt, I use smaller seam allowances on the jacket but it came out very large: luckily, the ribbon at the back can be used to shape it! 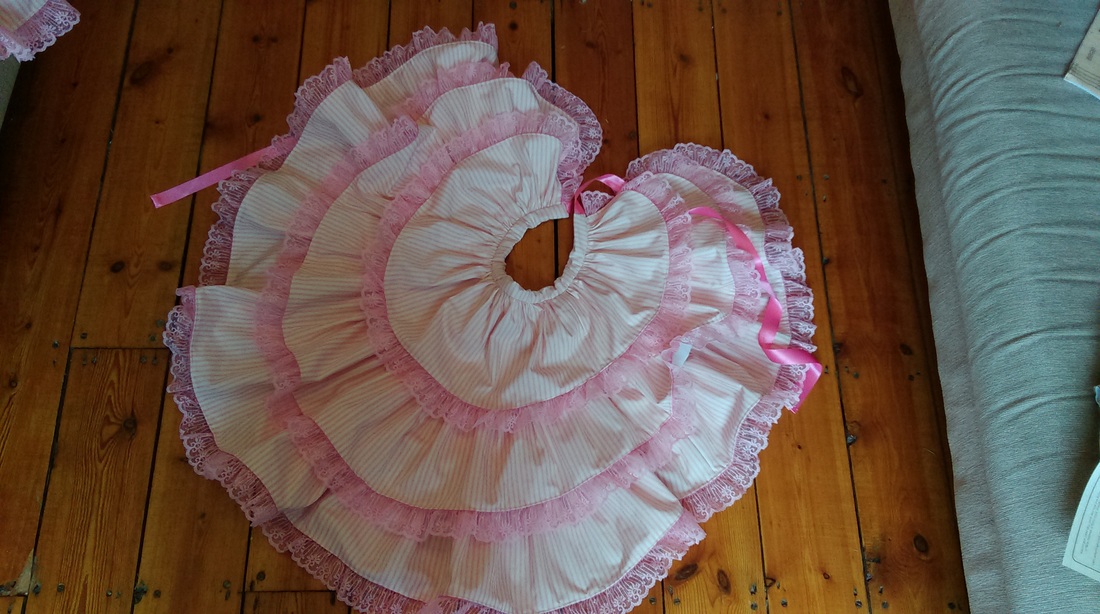 The bustle! The bustle needed a LOT of gathering: the bottom frill is at least 3m long. But it was definitely worth it- it looks fabulous. 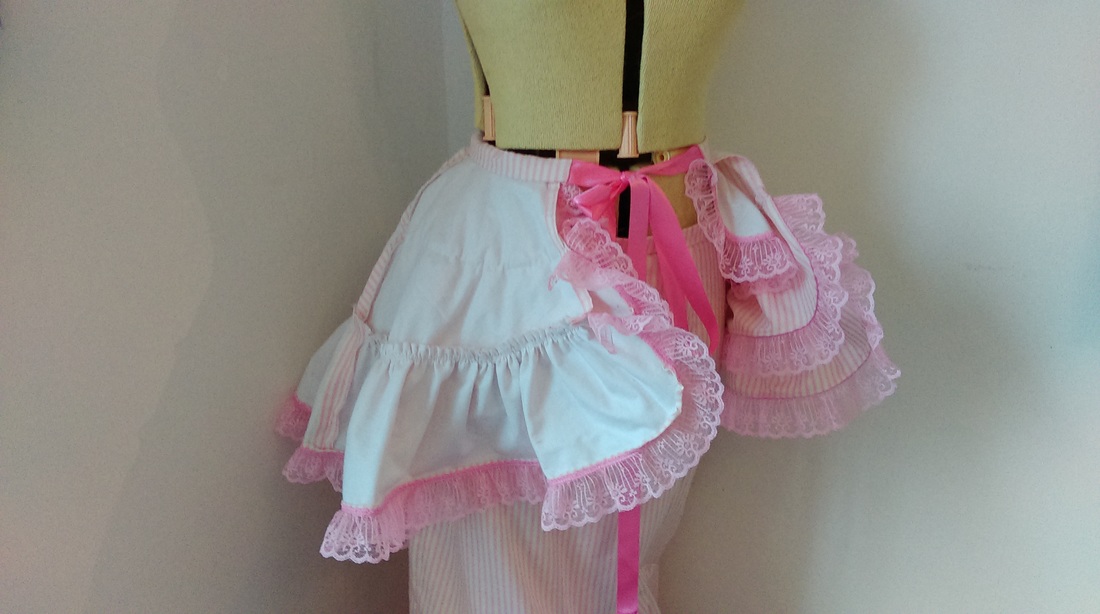 Again, because it's a costume, the bustle isn't lined and could do with having the skirt pieces cut out in lining and attached to the main ones. The bustle is held up by tying a ribbon; it might be neater to use the waist band from the skirt or trousers and have a button or a popper. 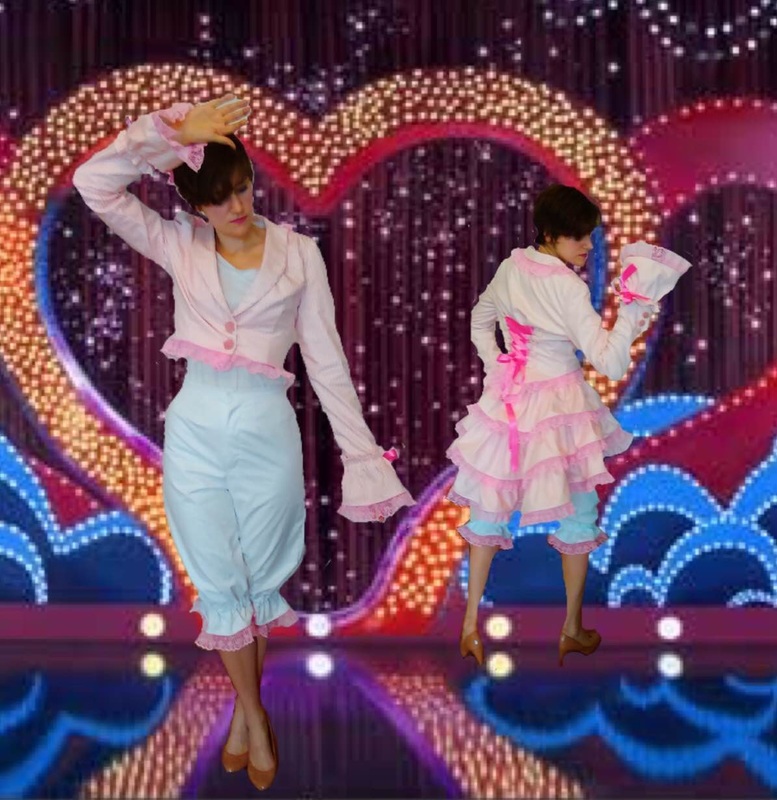 At the end, I had some cotton fabric left so I thought, why not go the whole hog and make the bloomers as well? They look pretty funky. They have a jean-style zip at the front, which looks so much better than any normal zip I can produce for skirts: flaps do look very neat. 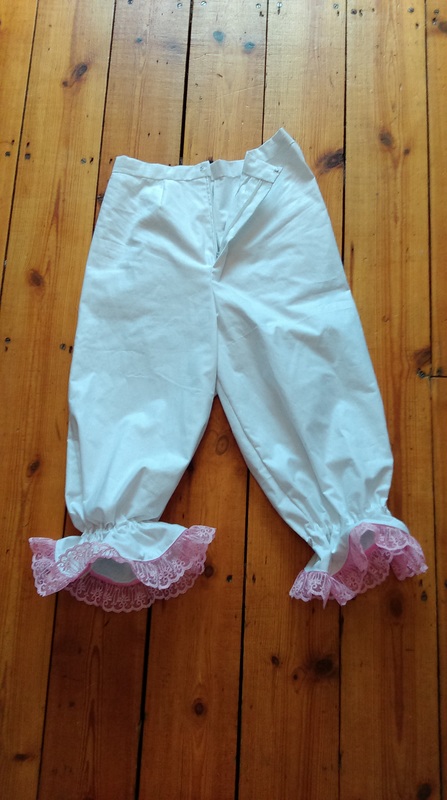 The bloomers are fitted at the top and then had straight legs, gathered 2" above a lacey hem. I put the elastic gathering into white satin ribbon so that it wouldn't be too scratchy if it was tight. 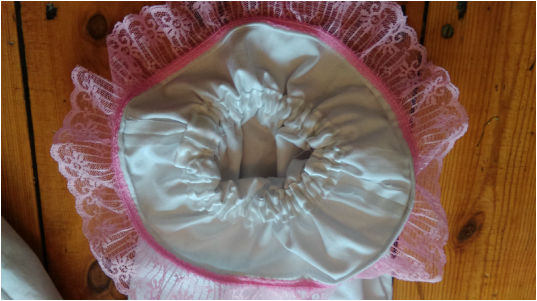 Now I just need to host a Victorian or steam punk party!
1 Comment
I found this cake on Chow.com after googling 'Awesome Birthday Cake Recipe' and it does make an awesome cake. It's so delicious and chocolatey. Two layers of rich but fluffy chocolate cake separated by chocolate fudge filling and then covered in chocolate butter cream. Wow! I did this using cups but I think that American and English cup measurements might be different as everything was a lot darker than expected so I've translated them here. 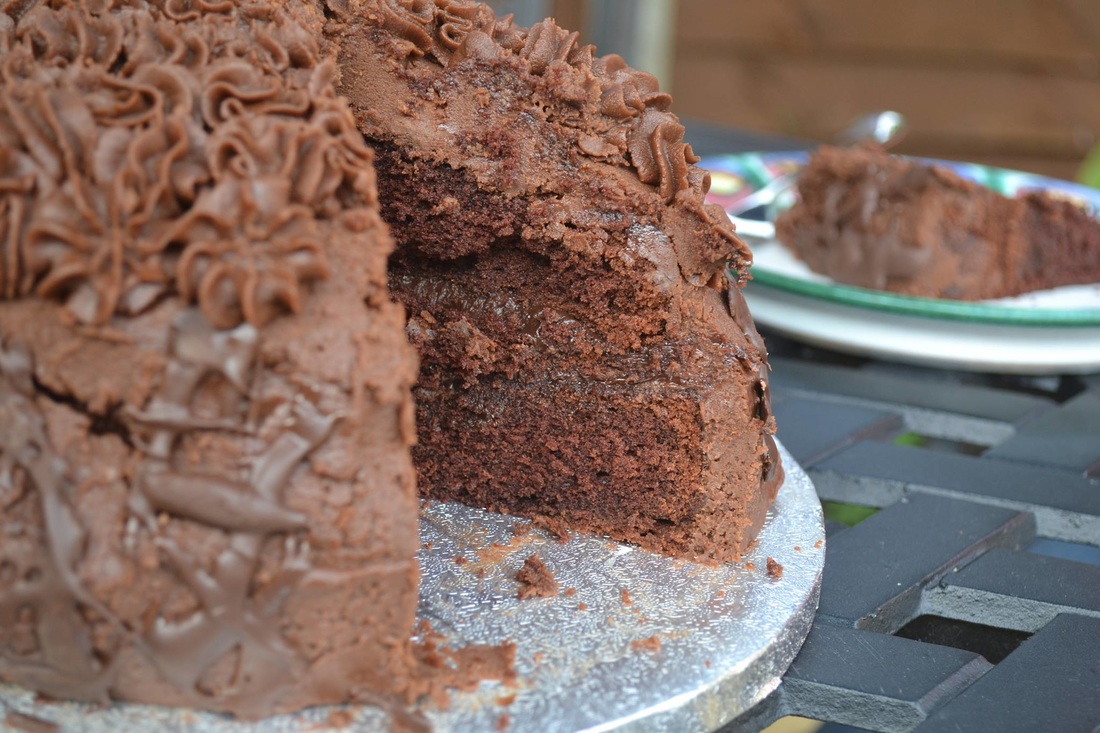 The Cake 245g plain flour 1 tea spoon baking powder 3/4 tea spoon salt 85g cocoa powder 150ml boiling water 150ml milk 6 oz butter 450g caster sugar 2 tea spoons vanilla essence 3 large eggs Pre heat the oven to 180 degrees and prepare two 8" cake tins. Mix flour, baking soda and salt and set aside. Then whisk together the boiling water and cocoa powder. Once it's combined, add the milk. Don't drink your hot chocolate mix. Beat the butter with an electric whisk until it is light and fluffy. Then cream in the vanilla and sugar. Add the eggs one and a time along with 1/3 of the dry mix. Separate into the two cake tins and cook for 30-40 mins. Leave to cool for a long time.  The Butter Cream 6 oz of chopped milk chocolate 3 oz of chopped dark chocolate 2 tablespoons milk 1 tea spoon vanilla extract A pinch of salt 350g icing sugar Heat up the chocolate in a bowl over a sauce pan until melted, stirring occasionally. Leave this to cool for a few minutes. Beat the butter with an electric whisk until light and fluffy. Add the milk and the pour in the chocolate. Finally add the vanilla and salt, mixing until fully incorporated. Slowly add the icing sugar a little at a time. Set aside to cool for an hour. The Fudge Filing 8 oz dark chocolate 170ml double cream 75ml golden syrup Whisk together the double cream and the syrup until completely combined and then bring them up to the boil in a small saucepan. Pour the hot mixture over the chocolate and stir until melted. Put in the fridge to cool for 45 mins to an hour. 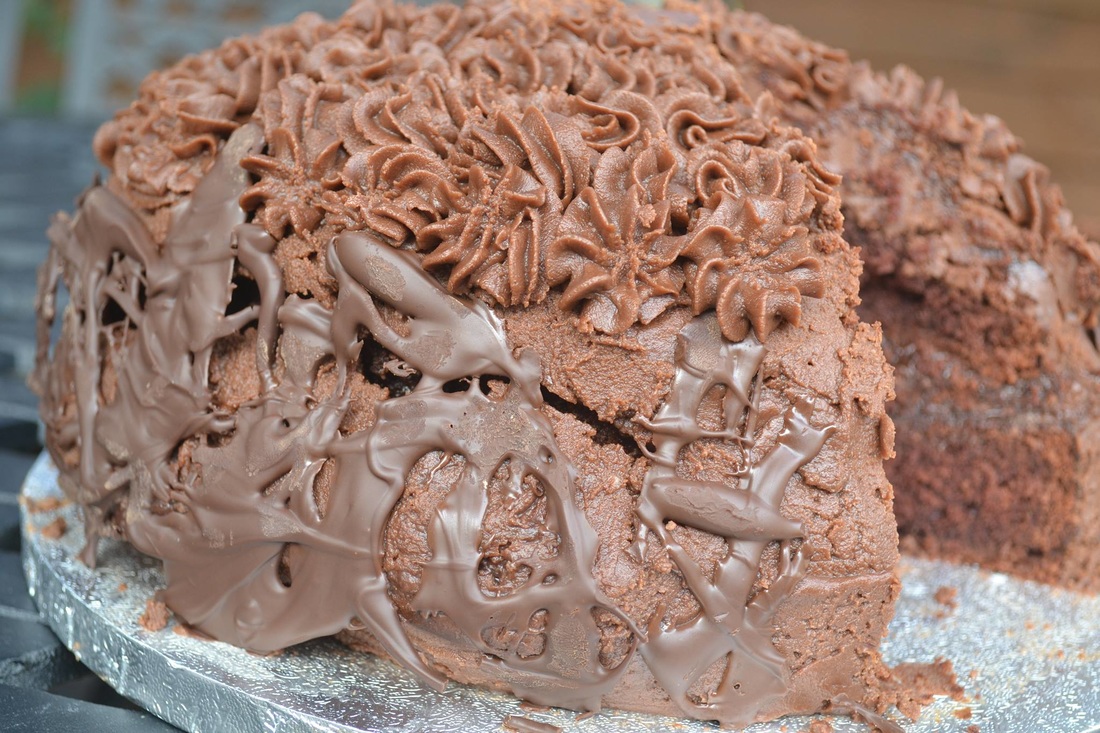 The Assembly Make sure the cake is completely cool and the fudge filling is very solid. You might need to whisk it a little before you spread it. Flatten the top of the cakes so that they will sit on top of each other without falling off using a bread knife. Spread the fudge filling onto the bottom layer and then place the top layer cake onto it. If it looks like it's going to slide you can put it in the fridge for a little while. Then lather in butter cream around the sides and on top. I recommend making swirling patterns, using a piper to make splodges or making a chocolate cage with any left over chocolate. 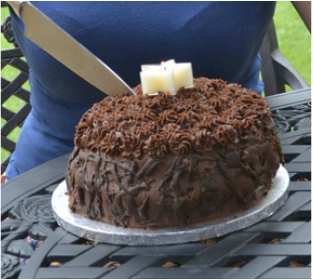 |
Apparently SewYou rip what you sew! Archives
May 2020
Categories
All
|
 RSS Feed
