|
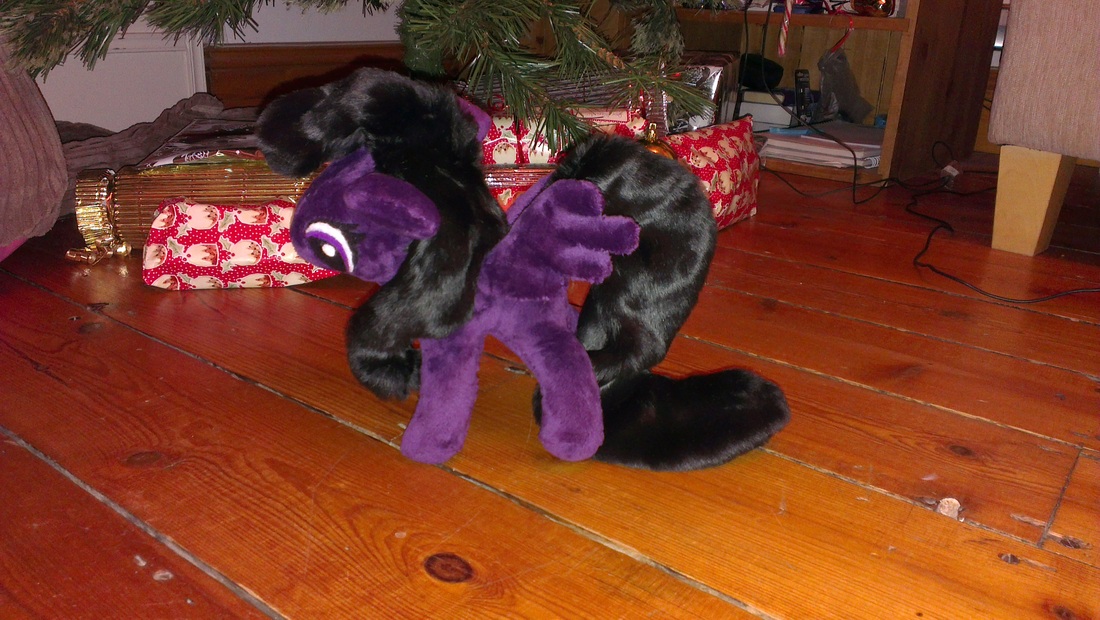
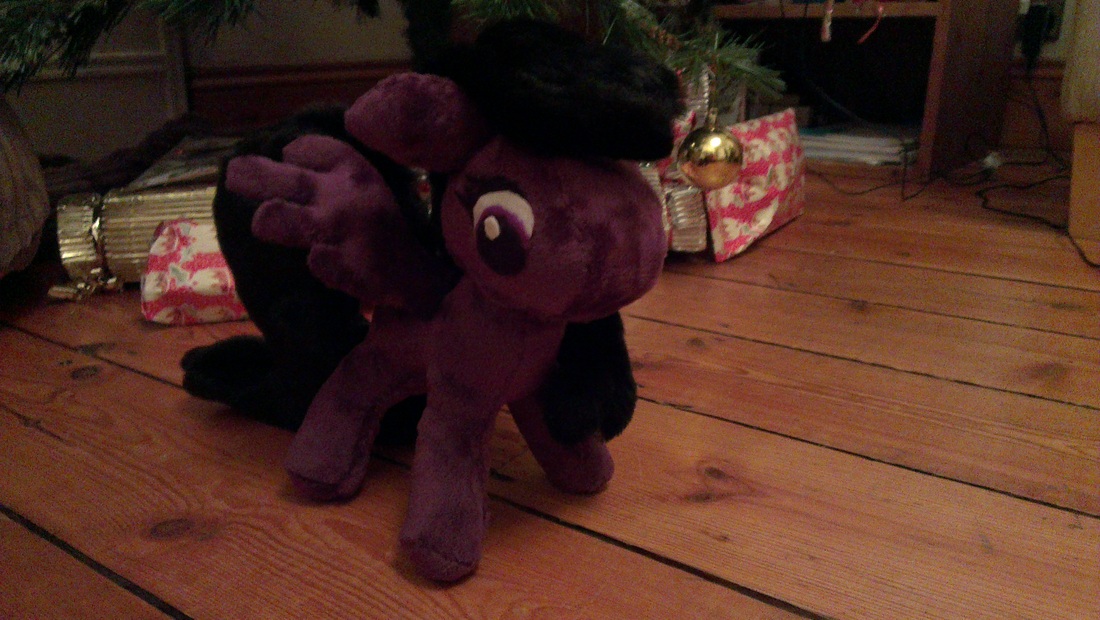
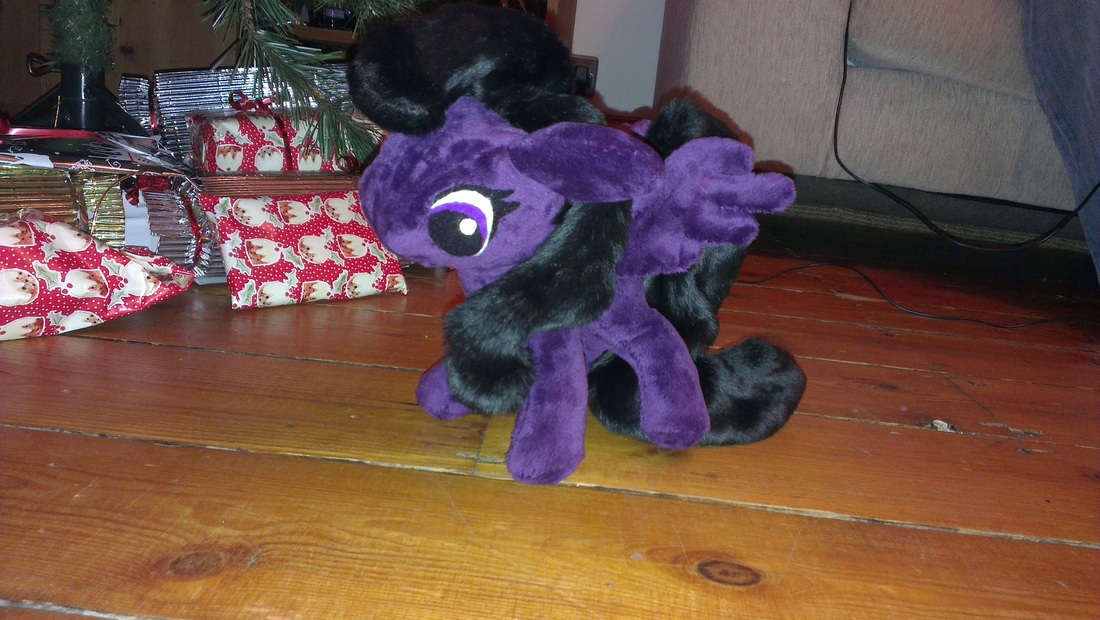
The sewing machine has been broken for a while now... And I've been spending far too much time on Crafster so making a My Little Pony seemed like a sensible idea.
I found a pattern on Etsy and scaled it down so that it was half the size. I used felt for the main structure and then covered it in purple minky, which is so amazingly soft, making sure the grain was the right direction to stroke. I was a little worried about sewing with Minky, apparently it's stretchy and awkward but with hand sewing, I didn't really find that. The main is made out of faux fur and has some wire in to keep it taught and the eyes are made from felt. I tried to glue them on but had to sew them on in the end. I haven't given it a tattoo or 'cutie mark' as I had originally planned to make this with the embroidery section of my now broken sewing machine (do not buy from Sewing Machines Direct or Cooper Sewing Machines). It's a little small to make out of felt but it would have had a see saw on one side and the sum of the moments equation on the other.
0 Comments
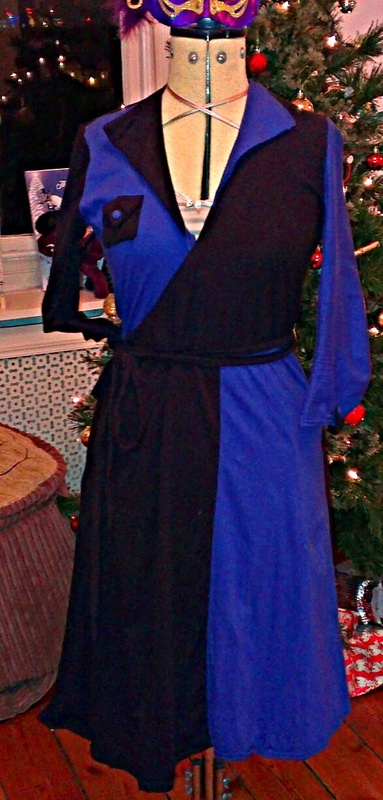 What to do when you have left over fabric from a black dress and a blue dress but make a black and blue dress? It's back to Famous Frocks for another retake on a classic, this time from a Charlie's Angels star...  The book page Famous Frocks fabric estimations are as little high: I used about a meter of each of the blue and black stretch jersey cotton to make this wrap around dress. The whole dress was sewn using poly cotton thread, ball point needles and stretch stitch. 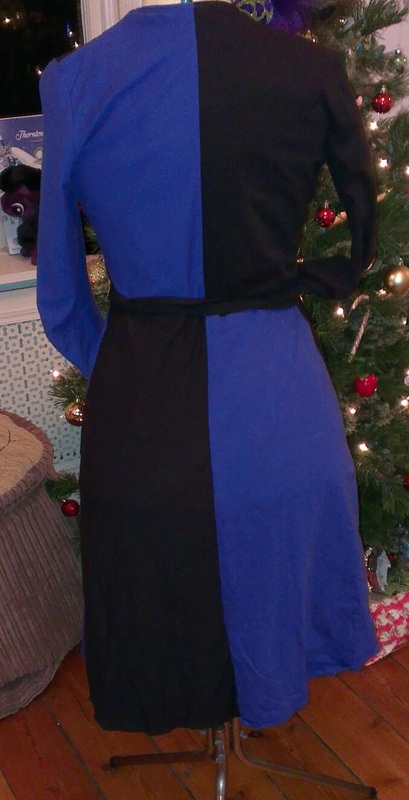 The back view I was slightly worried that it would look like as court jester outfit but I think the two tones is quite fun! 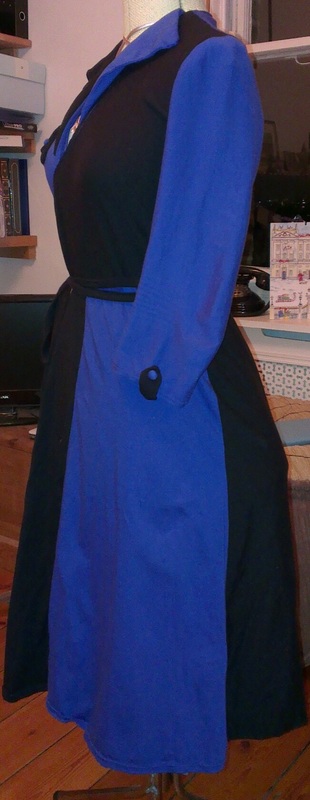 The side view There are a few problems with the pattern but the main one is the interfacing: even using very light fusible interfacing makes the edges very heavy. I'd recommend only using interfacing for the collar. The seams are also quite messy if you don't have an Interlocker so I would recommend princess seams. 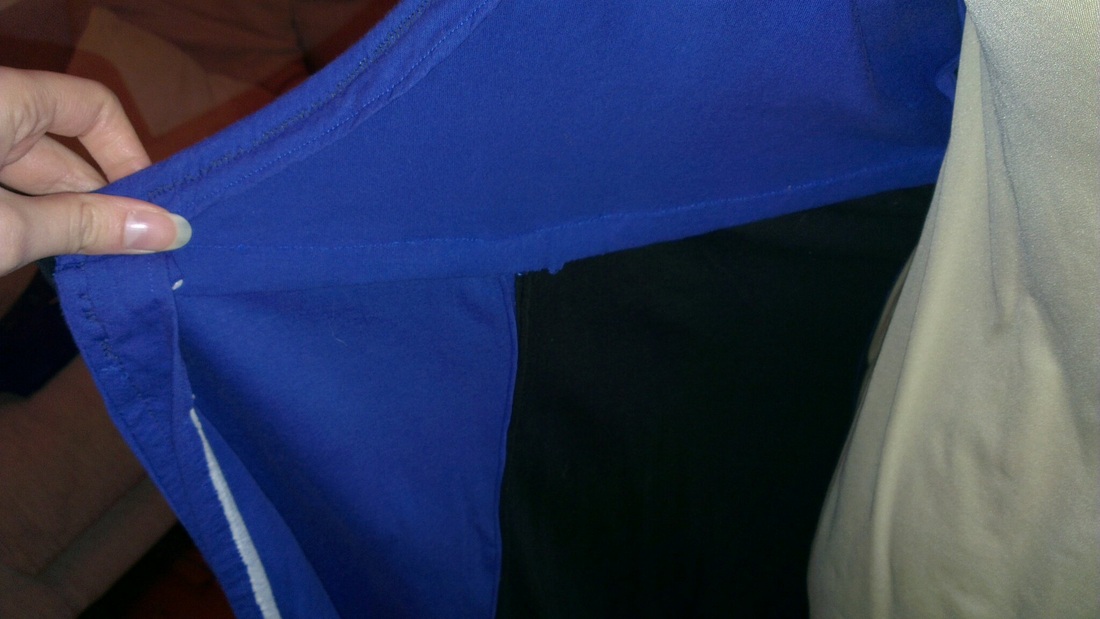 The interfacing I top stitched with a twin needle, one blue and one black thread. I used proper stretch needles but the machine still skipped some stitches. I think this was because the interfacing was so thick.  The top stitching The dress has a fake pocket with covered buttons and fake ties on the 3/4 length sleeves also sewn on with covered buttons.  The pocket The book suggests using Grosgrain ribbon for the wrap around tie but I used some of the black stretch fabric to match the rest of the dress. I also added about 2" to the skirt to make it longer. 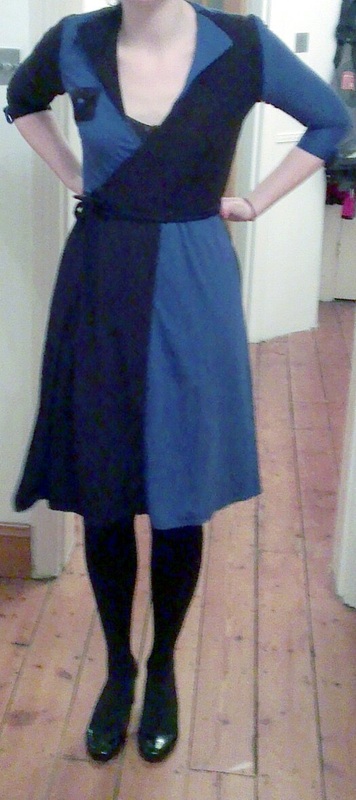 The final dress Overall, I'm pleased with the result. A dress perfect for casual days out and fun for the office.  The original The perfect way to test a new sewing machine: cotton pyjamas. My mother bought this fabric several months ago and it has been sitting in her fabric collection unloved. So I borrowed it and intend for Father Christmas to return it for Christmas as a pair of pyjamas. Hope she doesn't mind (or see this post). 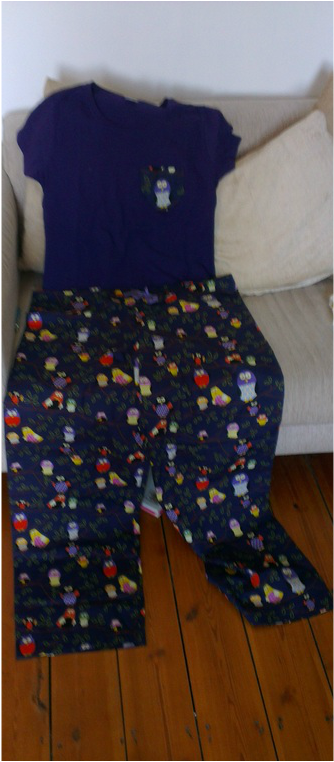
A lovely pair of Wol pyjamas
This used about 3m of cotton fabric but could have used less due to the direction the owls were printed. It's really gorgeous fabric! I used a trouser pattern I had already but adapted it so that the front and back were the same, made it more baggy and added an extra 2" for the roll over draw string. It would probably be easier to just draw around a pair of pyjamas. 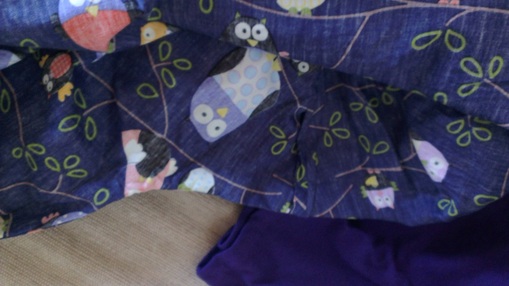
Some stunning princess seams
I cut the seams to be 20mm rather than the usual 15mm so that I could put in princess seams: you sew wrong sides together about 6mm from the edge then fold them over and sew right sides together. This means that there is no loose fabric anywhere and looks much more professional. It works well as I don't have an overlocker (serger); although if you're making fleecy winter pyjamas I would use short seams and an overlocking stitch if possible as princess seams would be very bulky. I sewed the two legs separately and then put one inside the other to join them together (a top tip passed down from my mother). 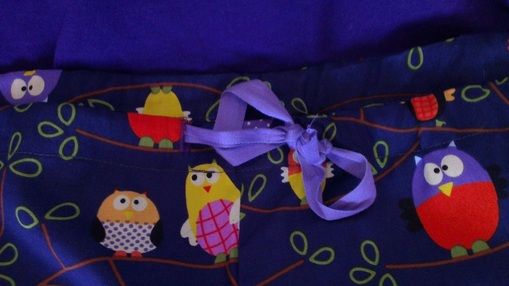
The draw string
To make the drawstring band, I sewed in two button holes the same width as the cotton twill. (I needed about 1m of that). My new sewing machine has a one step button hole which is fantastic! Then I folded over the fabric twice and ironed it in place. Finally, I sewed around the edge near the bottom of the turn over. This could be a place to top stich with a double needle if you have one. To thread the ribbon through, attach it to a safety pin first: this is easier to find and push through all the fabric! 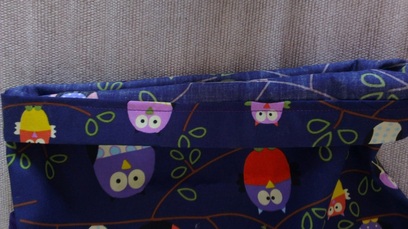
A beautiful hem
To make the hem, I folded over the bottom edge twice and stitched along it. Again, this would be a good place to use a double needle.
Et Voila! A beautiful pair of pyjamas with no visible seams or hems! Hope she likes them! |
Apparently SewYou rip what you sew! Archives
May 2020
Categories
All
|
 RSS Feed
